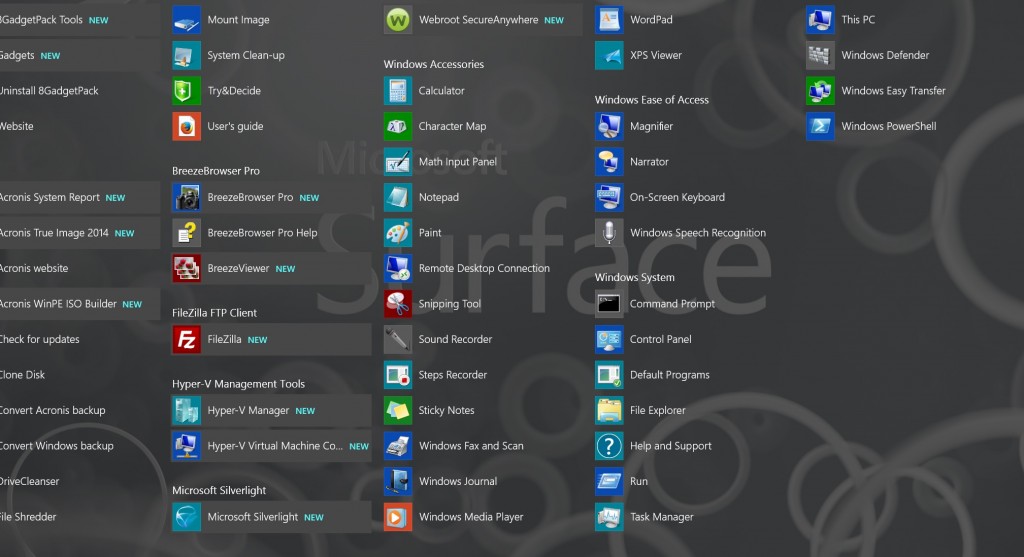
I just posted an article on how to improve your Surface Pro 3 WiFi connection, by enabling Hyper-V in Windows 8.1. The Surface Pro 3 has some changes to how “Power Options” are handled. These are a major difference to how the Surface Pro 2 worked. Mainly by default the Surface Pro 3 only offers the “balanced” power option. And inside of that option, you don’t have the same control to fine tune the power to various devices like WiFi, LCD Screen, or your Fan. Notice in the screen shot above, taken from my Surface Pro 3, you can see that I have enabled Hyper-V Management Tools.
This issue was driving me crazy before I discovered how to turn on Hyper-V in Windows 8. I am not sure what all Hyper-V does and what it was written for, but basically, with the Surface Pro 3, it allows you to get back to the 3 original power options.
- Power Saver
- Balanced
- High Performance
With the default plans with the Surface Pro 3 you only have “balanced”. By enabling Hyper-V in Windows 8.1, you now can control the power that the WiFi is getting, and I changed mine to Maximum Performance. Since I did this, the WiFi connections of my Surface Pro 3 have been much more realizable and consistent. You can read more how to do this in this article: How to turn on Hyper-V on the Surface Pro 3.


[…] as can be done. If you want to get to the 3 power manage states, I have written how here: 07/09/14 Power Options on Surface Pro-3–How to improve your WiFi Connection with Hyper-V I believe that Microsoft will get this fixed along with the other problem, with hardware updates, […]