From the BlogSubscribe Now

08/29/18–Epson 9000 feedback after 1 month of ownership


After the installation, I dropped right back into a large job that I had been working on, involving both canvas and paper prints.  The 9000 installation went flawless, no issues.  I did find a few things different:

  1. The process to get to a nozzle check is a different set of key strokes, you hit menu, maintenance, then select drop down for Nozzle check.
  2. There is no way to get to a the older CL1-CL4 cleanings.  You now have 2 options for pairs cleaning at least for the users, lower power and high power cleaning.  Also if there is a SSCL setting for cleaning I can’t locate it.
  3. There is no manual shipped with the printer, what a joke.  I used my manual quite a bit.  But now it’s back to the Epson site for a download of the full pdf.  Sad to see Epson fall in place with so many others on this.

These issues considered the workflow of the 9000 pretty much follows the 9900 in every other respect.  When this printer was announced, Epson made some pretty strong claims about less gloss differential, less bronzing, and most of all less clogging due to a newly developed anti-clog coating for the print head. Here is what I have found from my prints.

Gloss Differential

Gloss differential shows up on satin and glossy papers mainly in areas of lighter color, like water flowing in a stream.  Since much less ink is needed you tend to see a hard demarcation at the edges of the lighter color.  The gloss differential on the 9000 is the same as the 9900, so if Epson thought they added a better fix for this, they were wrong.  It’s just the same.  I have an old action for photoshop that adds a bit of grain to the areas that most effected and it helped quite a bit.  However the only real fix for this is either the HP solution (where they added a cartridge just to fix these issues) or have the print laminated, coated etc.  Straight out of the printer, the effect is very harsh.

Bronzing

This issue is also going to show up on satin or glossy prints and it’s best seen when you have a area of color transition, like blue sky, where there is a considerable transition in color.  Looking at the print head on, you will not see the issue, but as you move the print around in the light, and at an angle, you start to see rainbow coloring in some of these areas or almost metallic look to that part of the print.  The 9000 does seem to control this a bit better, maybe 25% to 35% better than the 9000.  Again the only way to remove it is coating the final print or lamination.   But I see the 9000 as an improvement over the 9900 here.

Paper Skew

Since my 9880’s I have never owned a Epson that can print on a straight paper path.  The 9000 is no exception.  On canvas prints of 34 x 44 on 44″ canvas I found I received a 1/4″ to 1/8″ skew error.  This is on Breathing color canvas, Crystalline.  On Lexjet Sunset Glossy Canvas, I found I received a skew error of between 1/16″ and 1/8″ and this is acceptable.  But the 1/4″ on Crystalline is not.  What was surprising was how much the skew also occurred on Canson Byarta, both 310 and 340 weight.  The printer had a real problem loading this paper, since it has so much curl and curl memory.  But it skewed as much as 3/16″ of an inch, again too much for me.

Scratching on back of print

The 9880, 9900 and now 9000 all leave a hair line set of scratches on the back of RC paper and Fiber paper.  These marks always align with the rollers inside the printer.  On my 9880 the impressions at times would show up through the face of the print, however on the 9900 and 9000 I am not seeing any problems on the face of the print.  However I hoped that Epson would have added a bit more intelligence to the 9000 to control this downward pressure and thus not make such hard marks.

Clogs

After the initial ink charge and perfect nozzle check, I had no problems with clogs for the 1st week.  However due a very strong lightening storm, I had to power off the system and leave it off for 2 days.  On powering back up, I had a small clog in the orange.  This was fixed with a pairs cleaning.  (orange/green).  After printing about 100 feet of canvas, I developed a new clog, this time in the green.  Again I did pairs cleaning (orange/green) and that was that.  Normally I would have gone into service mode and executed a CL1 cleaning on orange/green.  I have no idea how much ink the 9000 is using up on a “normal” pairs cleaning.  So for now the verdict is still out on clogs.  However I will be purchasing a new 3 year warranty extension and wish Epson offered a 5 year instead.  

Paper Loading Error

This is a new problem that may eventually require a service call.  The 9000 will load the paper and get set to print, but right before it clears you to print, it throws an error, “no paper loaded”.  This is strange as you can see the paper is loaded and lined up ready to print.  I have to assume this has something to do with the paper sensor not being aligned correctly.  The only fix I have is to release the platen, and load again, most times on the 2nd attempt all goes OK.  I can only follow this for now and see if gets worse which will require a service call.  Right now it’s happening on about 10% of my paper loads, all roll.

Confusion on Timer Clean/ANC

Epson has for years tried to get around the clogs with ANC (automatic nozzle check).  On the 9900 if you turned this on it seemed to check on every print and just added to the morass of the 9900 print workflow.  On the 9900 I turned it off, and just ran a nozzle check each time before a print cycle.

With the 9000 you have both ANC and Timer Clean.  Note, on the manual (actually the pdf) these are mentioned in passing as settings, with no real discussion on what they do.  Timer clean gives you the option to “set” a timer clean from 6 hours to 48 hours.  To my this means if I have the print on, and set timer clean to 6 hours, the printer should execute a head cleaning every 6 hours.  This not the case, I set it to 6 hours and came back, nothing the printer was asleep (another new feature), and no cleaning was processed.  I called my dealer DTG and they told me that timer clean doesn’t work that way, but I never really could get a good answer on just how it worked.  So I went back to ANC and set it as periodically.  I think it’s important to have the printer make the check since my usage is not daily, but more like weekly for larger prints.

Overall Print Quality

Nothing beats it, at least to my eyes.  Epson does know how to make a good printer.  But they just seem to miss out on the smaller things that would take such a printer to the next level.  Both HP and Canon allow for user replaceable print heads and with their new technology the prints look all about the same.

I am still straining to see the “better dmax” in the blacks. Black is black, so not sure where or what you are supposed to be look for.  The color transition is very nice and so far the ink is being laid down very even and prints look good.

I used my iOne system for creating all new paper profiles for my 9000 and so far I have been pleased with the results.  I have also downloaded all the Moab, Canson, Lexjet, Breathing Color and Epson profiles that apply and have testing these against the profiles I have created.


Written on 08/29/18 for Photosofarkansas by Paul Caldwell.  Please ask me before reprinting or any other reproduction of this article. 
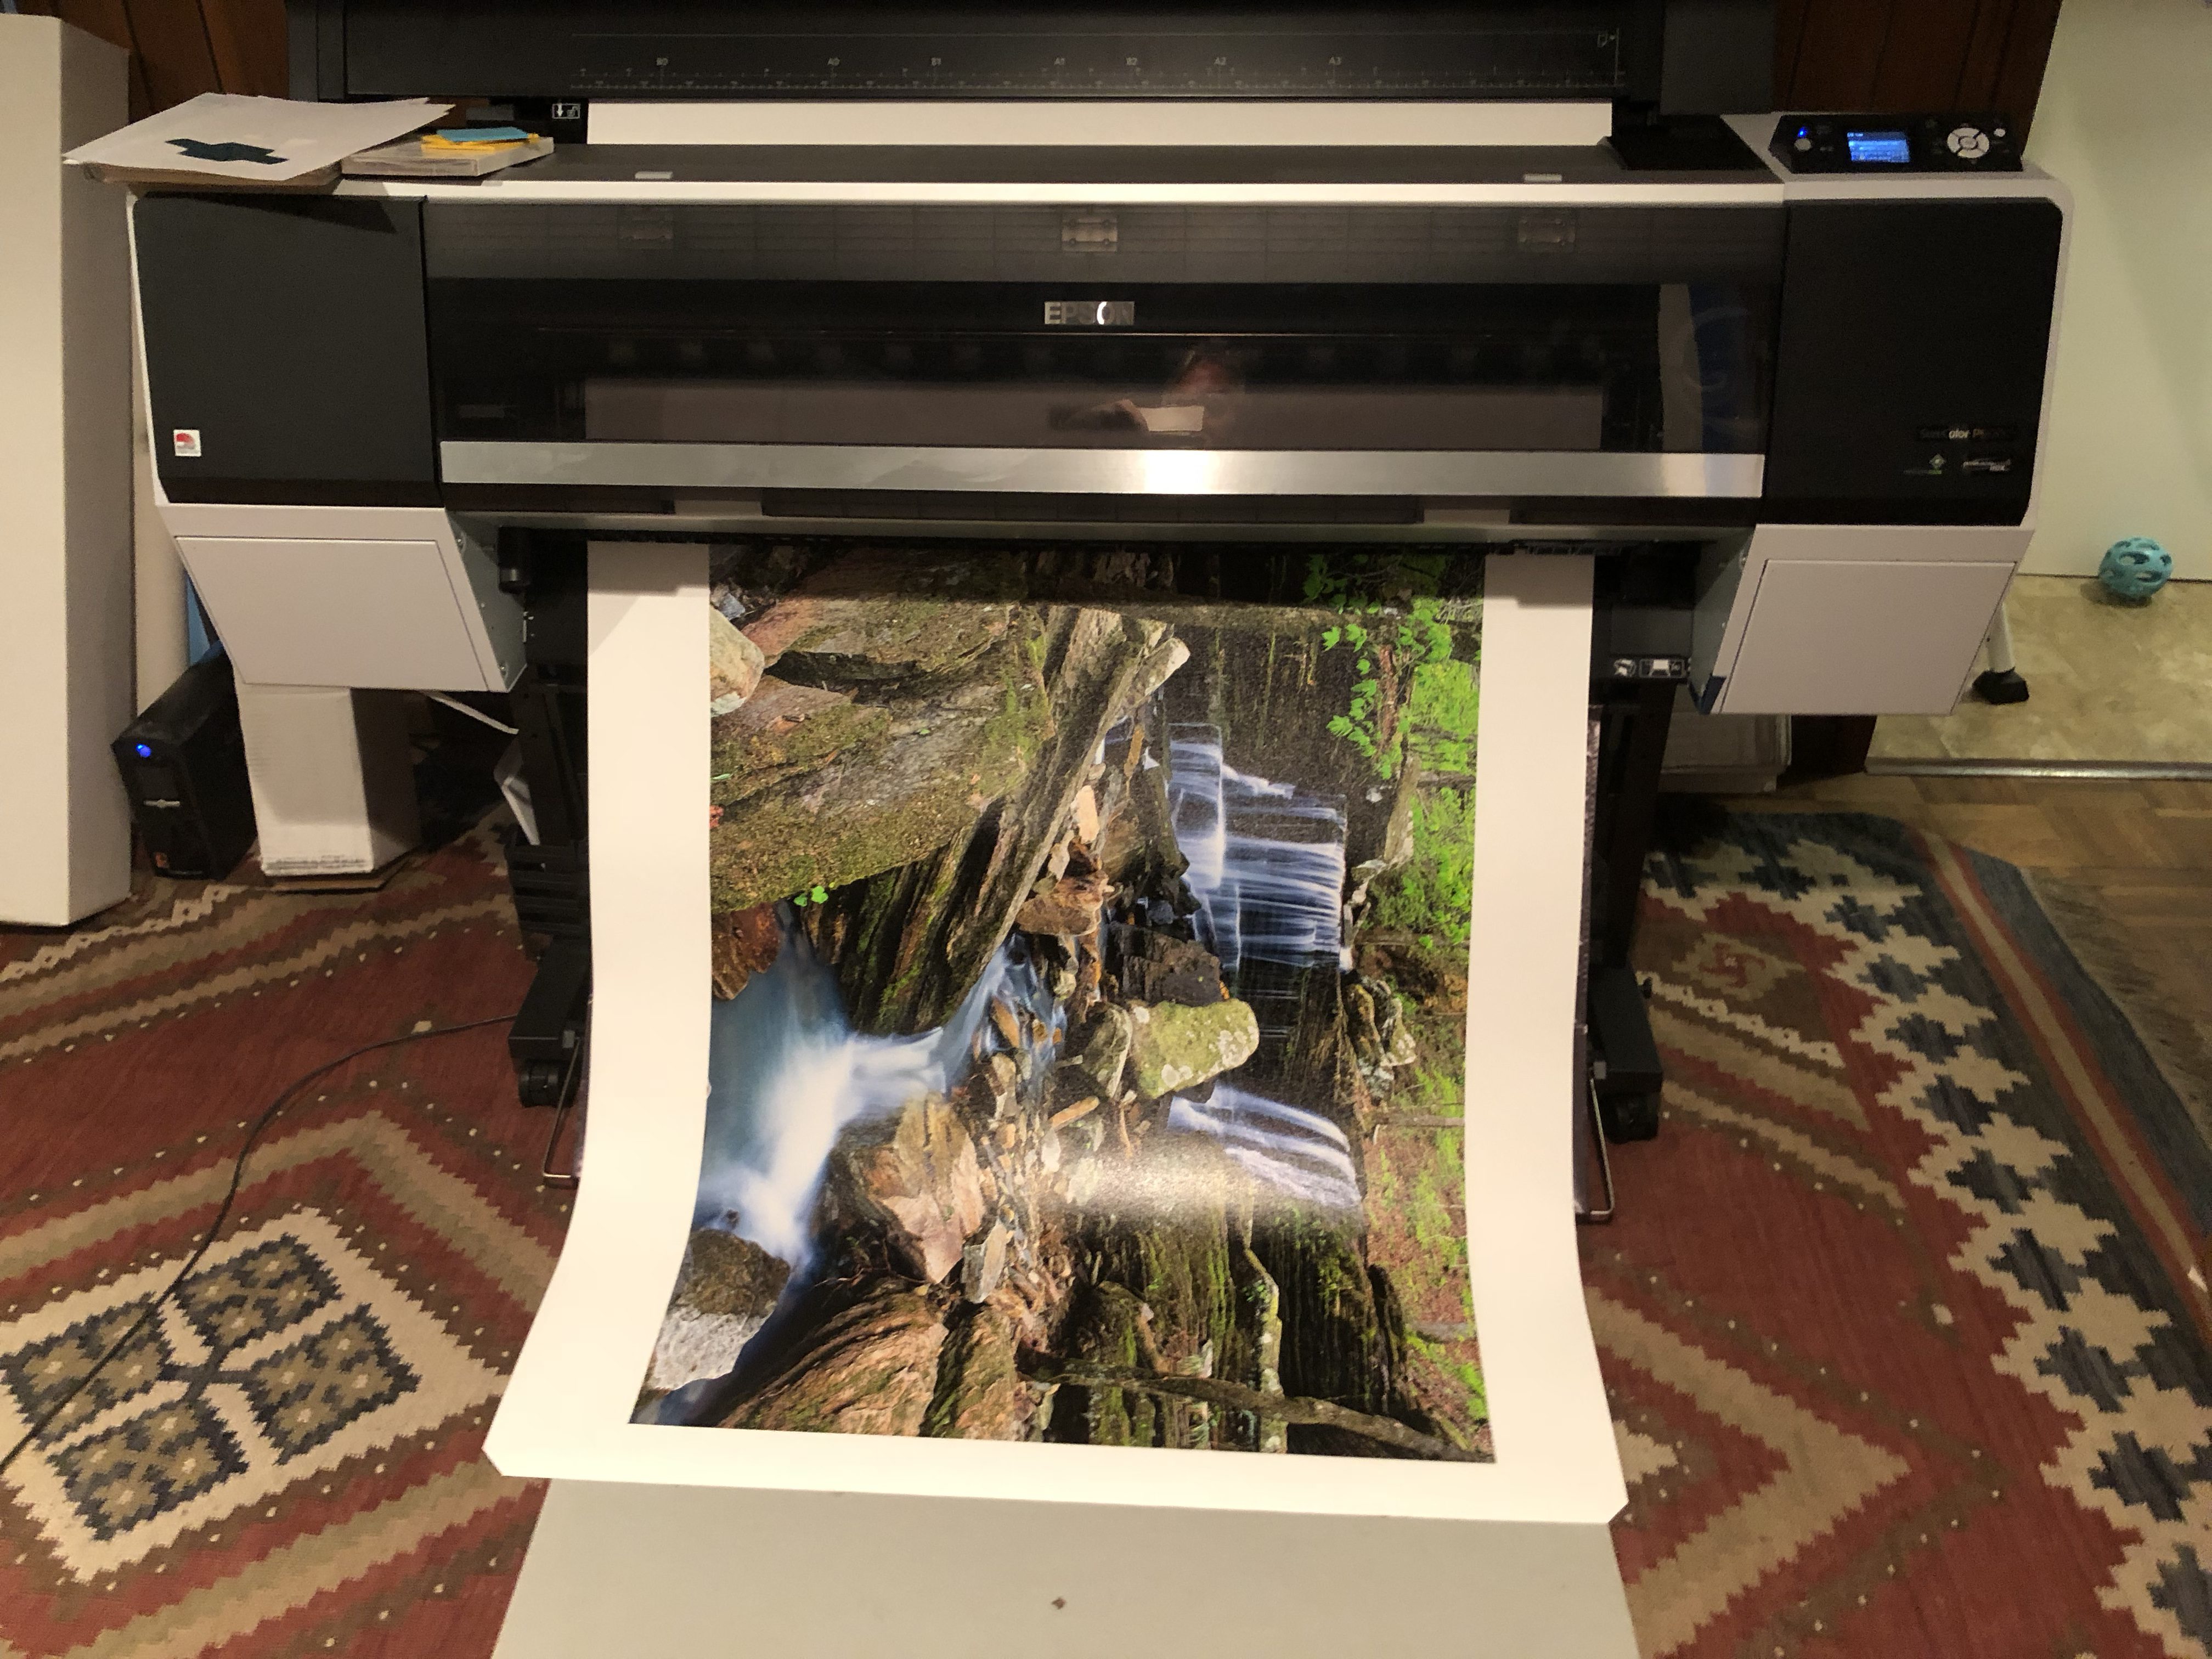


Epson P9000 feedback 2 weeks after initial install–written 08/09/18

Sadly about 3 weeks ago, my 6 year old Epson 9900 finally developed a non-clearable clog in the magenta.  I tried out all the tricks I knew of, CL-1 through CL4, SSCL, and Super strong cleaning cycle, none of them would clear this clog.  So, the next step was to find out the cost for a new head.  I had already replaced the original head about 2.5 years ago on this 9900.  The cost this time was quoted at 3,000.00.  And that was an estimate based on a perfect installation, no problems.  The hourly rate of the Epson repair which is done by Decision One, or Fuji (I have always used Decision One for past repairs), is around 120.00 per hour and the average time for a head replacement is 4 to 5 hours.  I also wanted to have my dampers replaced since I was having issues with them also, and that added another 450.00, so around 3.5K.  For a new head, dampers and 90 day warranty.

I quickly decided it was time for the P9000, at 4K, ($3,995.00) with 1K rebate, then add the cost of one set of ink tanks, @ 350ml for everything besides green, orange and matte black where I stayed at 150ml.  Another 1.6K.

Of course the single biggest problem is getting rid of the old 9900, moving it out and then getting the P9000 out of the box to my printer room.  I was able to find a home for my 9900, as it still would be a great proofing printer, as the only issue was a permanent clog on magenta, about 1/5 of the entire nozzle pattern, all one big missing block.  The P9000 seemed to my team about 40 or so pounds heavier than the 9900 (I had removed all the ink and M/A tanks), but we got it done.

I WAS SAD TO SEE THAT EPSON IS NOW FOLLOWING MANY COMPANIES WITH NO PRINTED USER MANUAL.  I used my manual quite a bit on the 9880 and 9900, so I quickly found the pdf for the manual and pulled it. down.

The installation was quick, just following the steps in the setup guide, all went OK. I was able to charge the printer, align the heads, and print out a perfect nozzle check.  Based on the information from my dealer DTG in Florida, I did the following:

  1. Turned ANC (automatic nozzle check) to OFF
  2. Set the timer clean to once ever 48 hours

Epson sells the P9000 as all new state of the art technology, with an improved head design that supposedly has some form of ink repelling coating to help decrease clogs.  They also claim the Dmax for blacks is better with greater detail in shadows.  The inkset is still 10+1, (matte black) but the entire set claims to have a more archival life over the ink in the 9900, closer to 100-150 years.  Also the yellow has supposed greater Dmax.

The first few prints I made were on Lexjet E Satin 300 weight, (RC paper) and Canon Byarta 340 an 310 weight paper.  I used all canned profiles from the manufacturers.  The prints looked great, very smooth tonality and no issues with banding or bleeding.  Overall impressive.  I printed everything in 1440 dpi, not 2880 and quality setting of 4, where I tend to run all my prints.

Quick note: Epson clearly states that the P9000 is designed to have less bronzing and gloss differential than the 9900.  After 25 or so prints all on glossy paper, I can clearly state that gloss differential is THE SAME.  Bronzing may actually be slightly better, but on prints with a blue sky and white clouds I still could see some bronzing on Lexjet E Satin and Moab Lasal Luster.  The bronzing on Canon Platine was about the same as on the 9900, but did seem a bit better with Canon Byarta 310 and 340 weight.

Next came profiles and for this I used my iOne profiling system, iOne Profiler pro, with the latest device and 1728 patches.  All the profiles came out fine on both paper and canvas and I was starting to feel that maybe Epson had stepped up the game with this printer, at least on clogging.  I had made over 50 test prints, and not gone for one nozzle check.  However thing changed pretty quickly once I had to power off the printer.

In my location, Arkansas, we get strong lightening storms.  I am working out of my house, in a residential neighborhood, so I have no real protection against a strong lightening strike, besides a local UPS.  No $200.00 or $500.00 UPS is going to stop a near or direct strike, net you just have no control over this much power.  I have had 2 major strikes on my house, both in the yard.  Both took out at least 1/2 of the power in the house, the 2nd one took out pretty much everything that was plugged in, burned out many of my wall outlets and a few of the circuit breakers in my main fuse box.  Net, when a major storm is coming, I have to both power off and unplug all my PC’s Macs and printers.

The P9000 was turned off for 2 days.  I did a normal power off, and then unplugged it.   The first thing I did on power up was run a nozzle check pattern.  So far, all the patterns had been clear.   To my dismay, I found that I had one clog in the green.  Amazing that only powering off the printer for 2 days, would cause a clog.  This one clog is really not a show stopper as missing one single part of a pattern is very hard to see in a print, even if you make a solid print of just that color.  But it’s still a brand new printer and I was surprised to see that things really have not changed much from the 9900 to the P9000 in regards to the ever present issue of clogs.

With the 9900 I would have simply powered off, powered back up in Maintenance mode, and run a CL-1 pairs cleaning on orange and green.  That would have taken it out for sure.  Well maintenance mode on the P9000 is not the same.  There appears to be no CL-1 through CL4 or even a SSCL or SS type of cleaning.  Epson dialed way back the capabilities of this mode at least outwardly.  They may have hidden things somewhere else, anyone’s guess.

So with the P9000, you only have the option to do a pairs cleaning from the main menu, and at only one strength, which will use a lot more ink than a CL-1 style cleaning.  I have decided to see what a timer cleaning will do before I try a pairs cleaning.  I set the timer cleaning to go off after 6 hours so in the morning I will check back to see if it ran and if so did it clean the clog.

What’s now very clear to me is the following:

  1. Epson did not really change the heads at all, I would be in fact surprised if the 9900 and P9000 don’t use the same part number for the heads.
  2. The ink repellant coating, well lets just say that’s all marketing speak.
  3. It’s clear to me that Epson intends for you to leave the printer ON, all the time.  Allow it to go to sleep, but not power it off.
  4. The addition of the “timer cleaning” is just a way for Epson to get around the constant mild clogs that the 9900/9000 get since you just set up a period of time for a cleaning cycle to run.  This is a bit different than the 9900.
  5. The 9900 and P9000 both have ANC (Automatic Nozzle check), which can be run after every print or periodically.  I turned it off on my P9000 and went for the straight timer clean.

There are not many options out there for 44″ printers in an affordable range.  HP is very old tech, (Z3200), Canon’s 8400 is newer and allows for the user to replace the heads.  In fact Canon intends for the head to be replaced.  Instead of cleaning a clogged nozzle, Canon maps it out.  When you have reached the total number of nozzles mapped out, you have to replace the head for around $450.00.

I had hoped that Epson really worked some magic on the P9000 in regards to power off and clogs, but from only having mine on for 2 weeks and seeing a clog just like the 9900, it appears that the technology is pretty much the same, net you will get clogs if you power off the printer and break it’s timer clean runs.


09/25/12 Nik software has been purchased by Google…….Whats up with that?

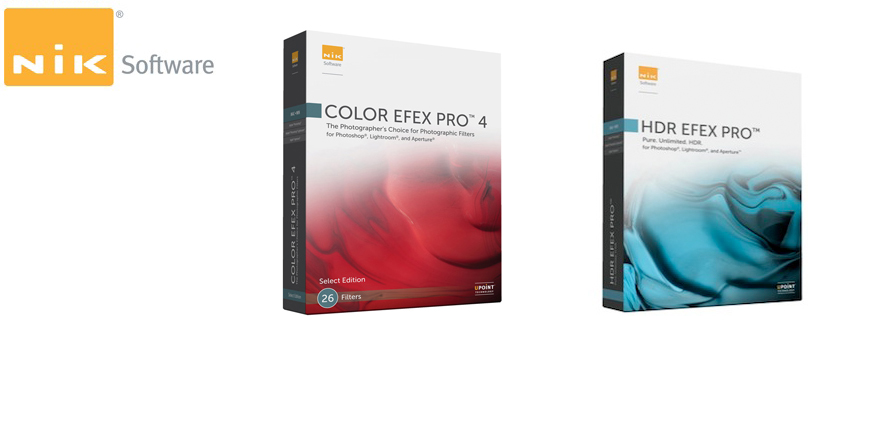
Nik products HDR efxpro and colorefx pro

Nik products HDR efxpro and colorefx pro

Over the past weekend and during the big Photokina show in Cologne Germany, Nik software announced that they had been purchased by Google.  The assumption here is that Google is wanting to use the Nik control point technology in some of their apps.  As a huge Nik user in my work, this concerns me as what tends to happen in situations like this is that the company that makes the purchase will absorb the smaller one and then the products are taken off the market.

Nik has several really key products for photogrpahy:

Color Efex Pro, HDR Efex Vr. 2, Define,  Viveza, Silver Efex Pro are the main products that I use but there are more in the product suite.  I noticed today that Nik has the information on their website talking about the merger/takeover by Google.  My recommendation is that make sure that all of your products are current via the upgrade process.  Nik has been very good in the past in keeping their product set current with both enhancements and bug fixes.

Only time will tell what Google decides to do, but I would not bet on Nik staying in the mainstream very long.  This will give on-one a boost as they have several products that overlap the Nik product suite.


07/20/12 Panther Cloth from Kinetronics is amazing–for photos, cameras, and much more!!

I have been a photographic printer now for over 30 years, the first 15 with the traditional photographic paper/chemical process and the last 15 with inkjets and photoshop. One of the biggest problems that you will run into is the handling of a fine photo. If you are working to mount it either dry or wet mount, the cloth you use to help with the process has to be free of any type of material that will scratch a print. This is especially true with a glossy or semi-gloss print as it seem that just the slightest rub will sometimes scratch a perfect print and send it to the trash can. Over the years I have used the static free brushes from Kinetronics for cleaning my print before and after I mount them. I also use these same brushes to clean my printers as a lot of trash seems to build up in and around the platen area of my inkjets. This trash will eventually fall onto the print surface. When this happens, most times the printer will print over the trash and when you wipe the print the trash comes off and then the ink. Another one hits the trash! But even worse, after you get a good print, is finding a cloth that will not scratch the surface of the print when you are mounting it. Enter the Panther cloth from Kinetronics.

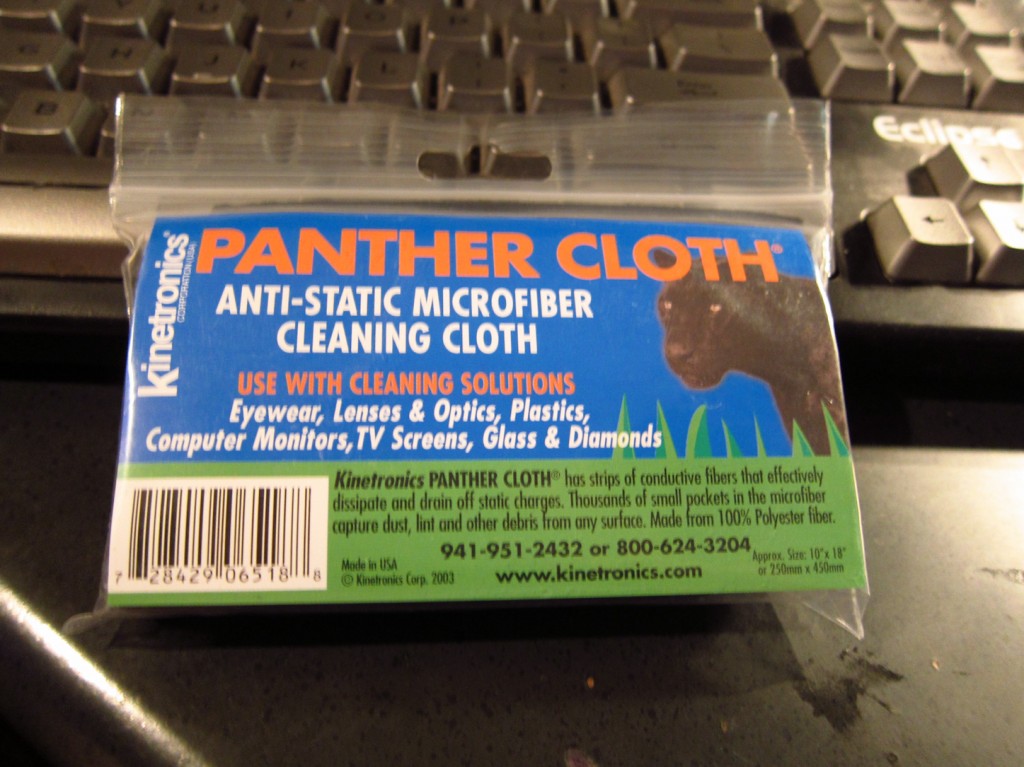
Kinetronics Panther cloth in package

The panther cloth is made from  a black, very soft, anti-static material.  I believe it’s about 10″ x 10″ when fully unfolded.  A single cloth from the company is $6.95 and you can purchase a box of (10) for $41.00 which is a very good savings on the single price.  As good as these clothes are I would recommend purchasing the box.  I was able to work with a 25″ x 45″ glossy print for a dry mount and the process was smooth and generated no scratches.  You can actually use these clothes to press down on the print as you lay the print down (I don’t use a dry mount press)  When I dry mount I  use a spray adhesive and then lay the print down, applying pressure as I do this.  During the process you need one hand holding the print and other to apply slight pressure over the print to help keep bubbles from forming.  I tested the Panther cloth in my dry mounting and found no scratches at all. [Read more…]

05/25/12 Things always seem to fall apart when you need them the most!!

Do you ever have one of those days, where you think everything is in order, but when you start the job everything seems to line up for a problem. Today I had one of those type of days. I have been working an huge printing project for a local hospital. There are 8 total panels on canvas each is 35″ long and 70″ tall. I had proofed each panel and felt I was ready for the printing.  However as I started to print I ran to one problem after another, some being my fault, others out of my control.

  1. When printing large like this, you may miss some small imperfections, that will really not show up in a smaller version of a print.  One of these jobs was a long vertical waterfall coming down a series of boulders.  The image was created by using 2 vertical 35mm frames and combining them together to create one final image.  When I viewed the files, they seemed fine, however once printed large I did find some areas where the software I used to combine the files left some areas not blended very well.
  2. When printing out a large file always remember to view the preview screen.  For some reason the Epson print driver started to cut off my 70″ long prints at about 43″ but still ran out all the 70″ of canvas.  I finally was able to get around this by moving the printing to Lightroom 64 bit.
  3. UPS failures, during one print I had a power surge and it took out the UPS the printer was attached to.  At first I thought I might have lost the printer, but it returned with no problems.
  4. Canvas problems between lots of canvas.  If you are using a standard brand of canvas, I strongly recommend checking the lot numbers and making sure a shipment stays in one set of lot number.  I ran into a problem where I crossed two sets of lot numbers and most of the profiling and printer settings didn’t seem to work as well on the 2nd lot.

Overall the lesson learned here is you never really have everything under control.  It’s a rare day where everything swarms like it did today but it can happen.