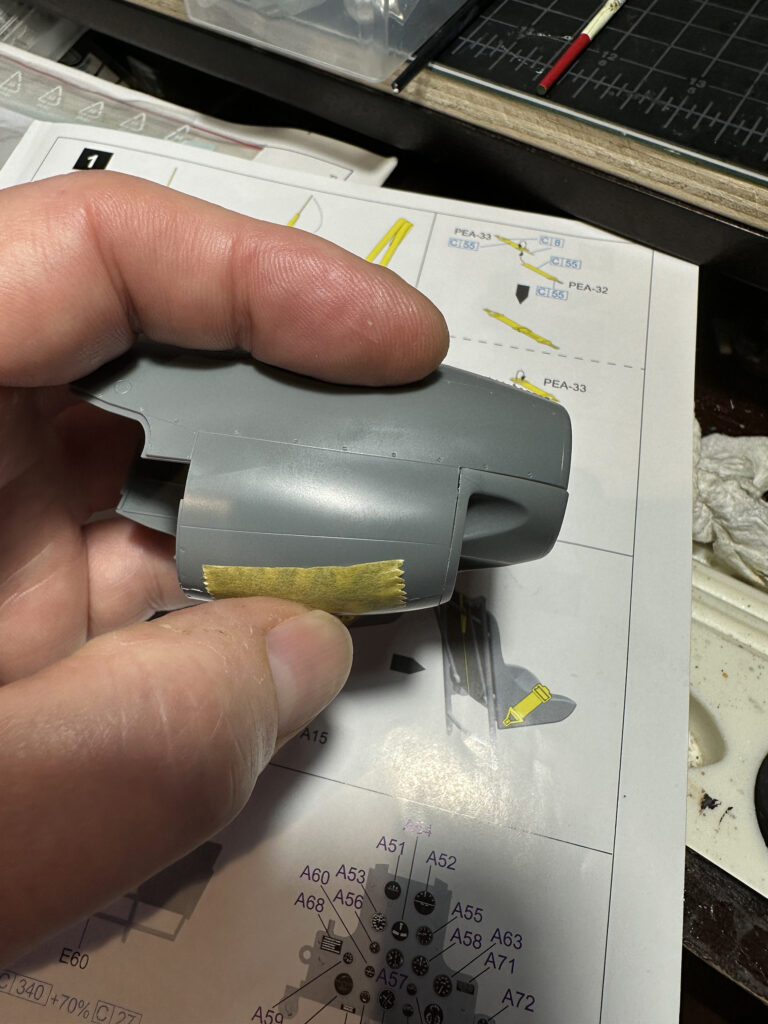
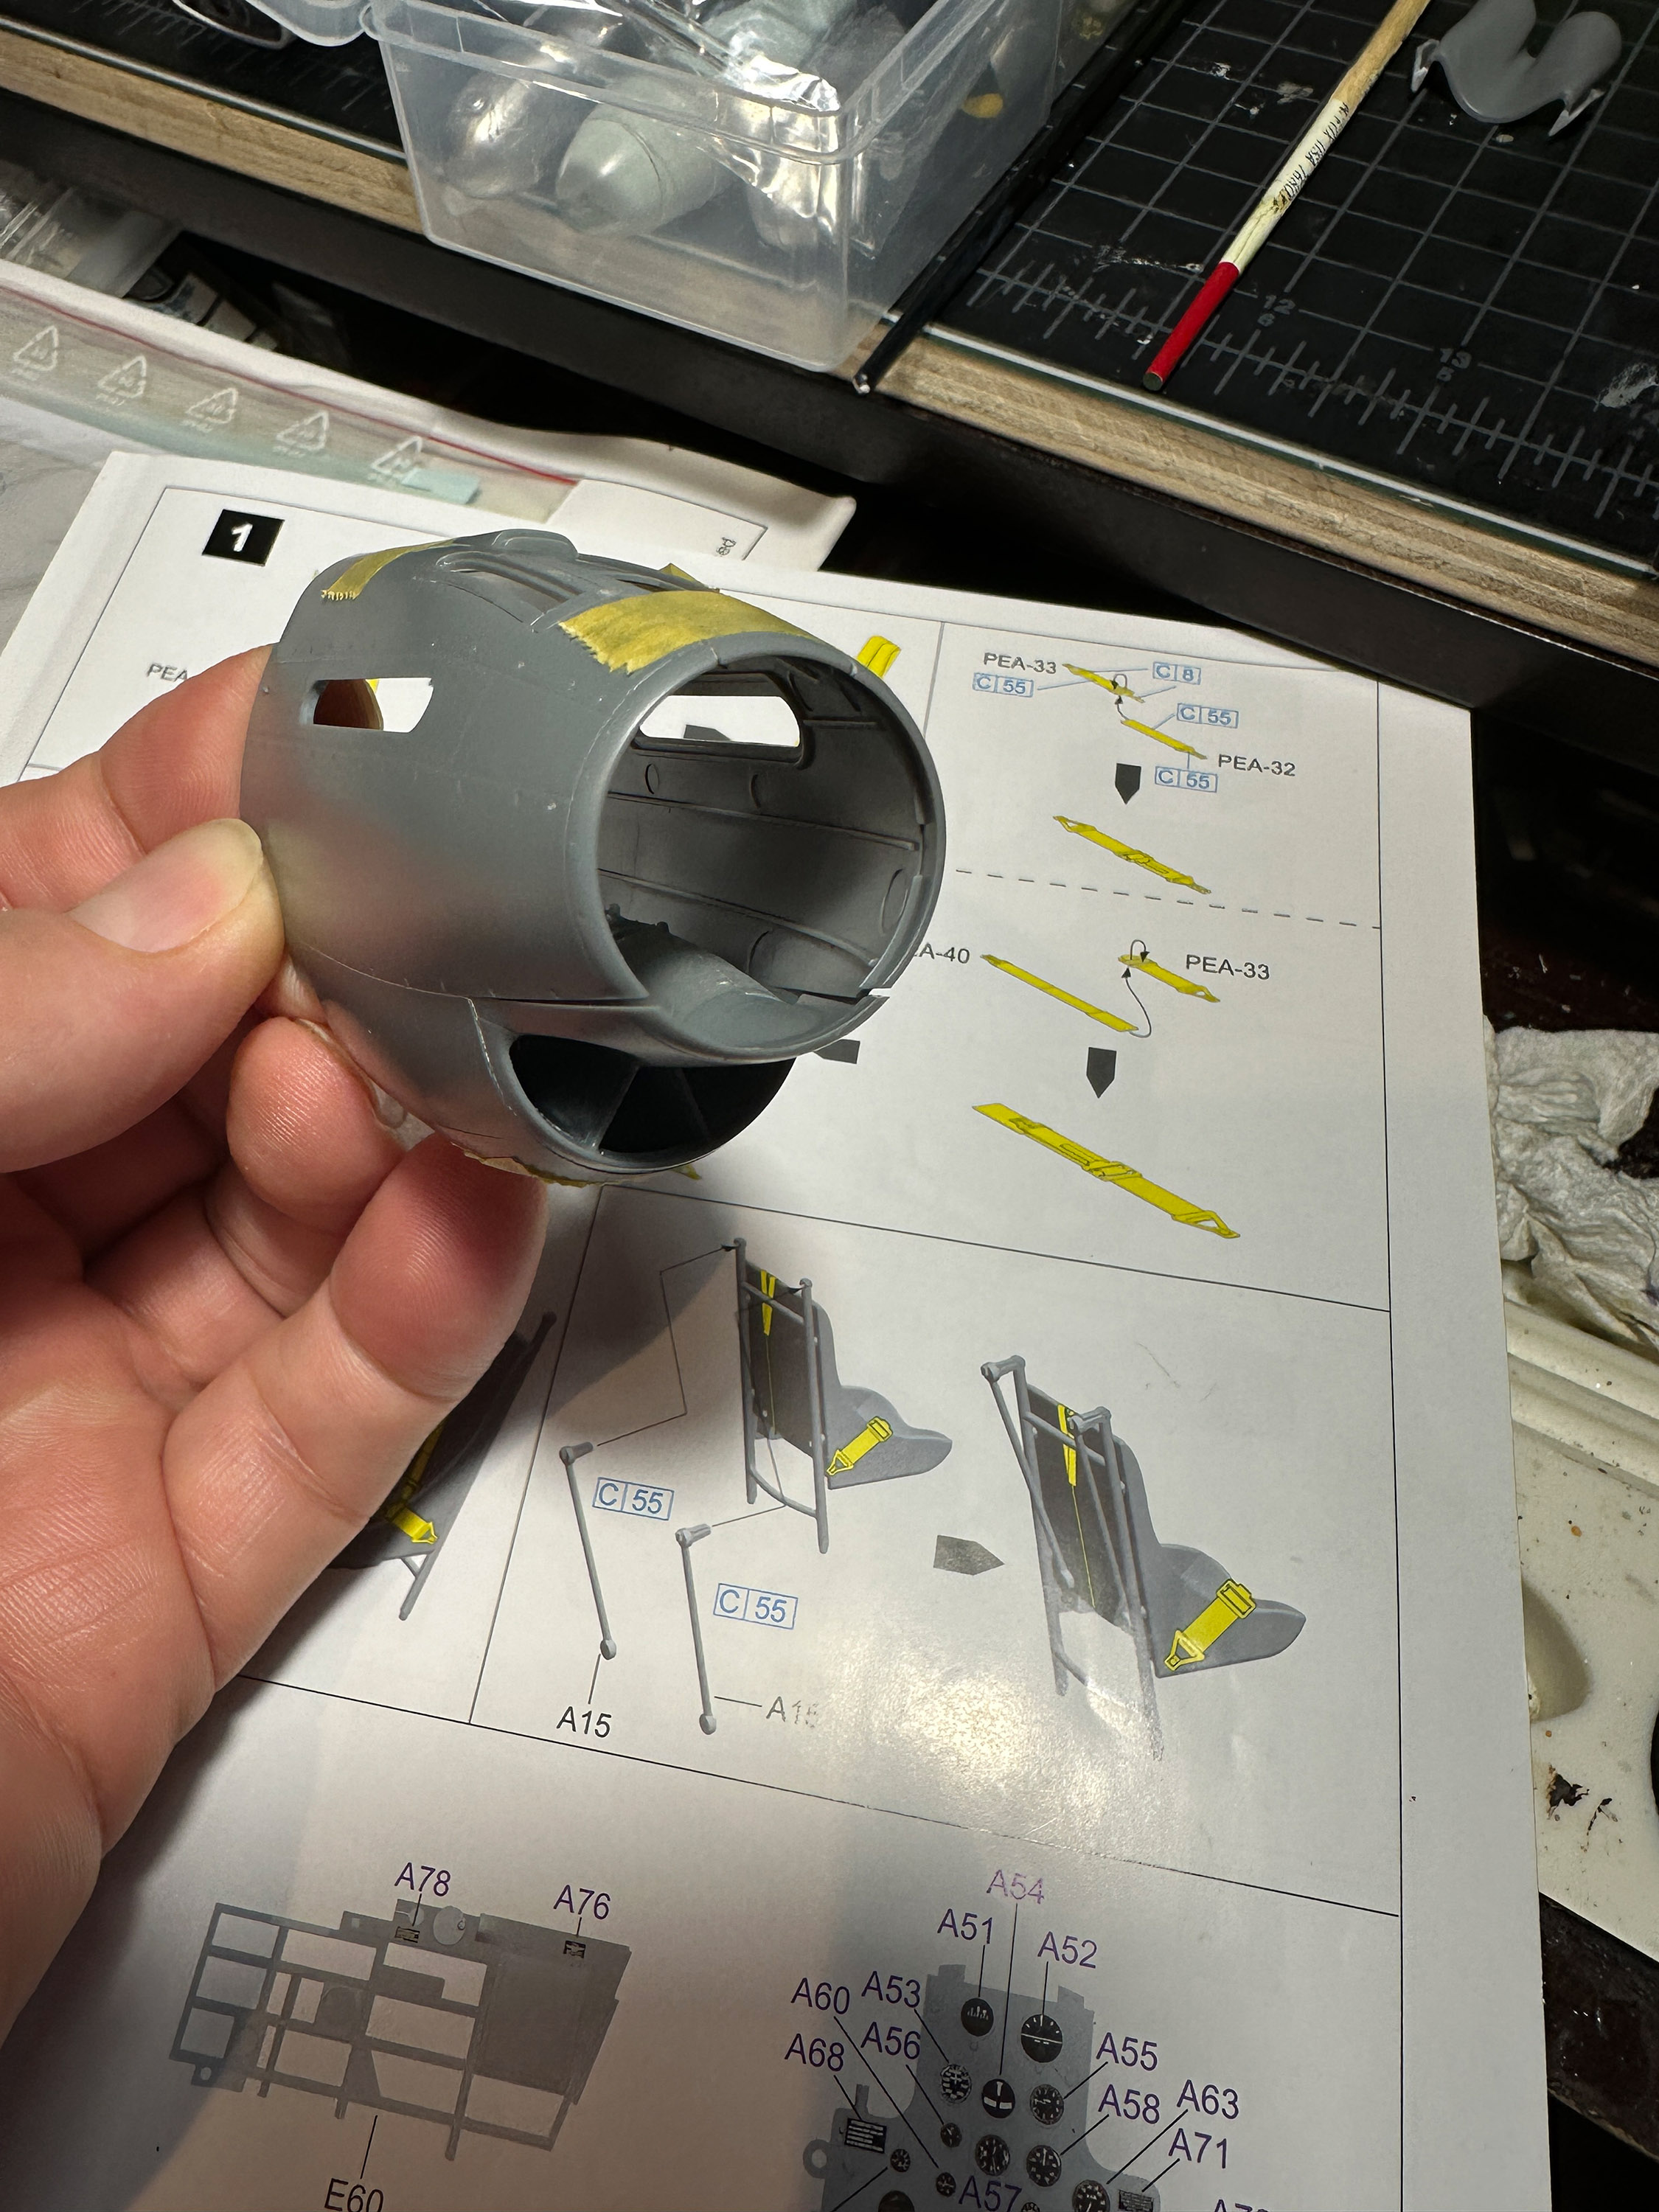
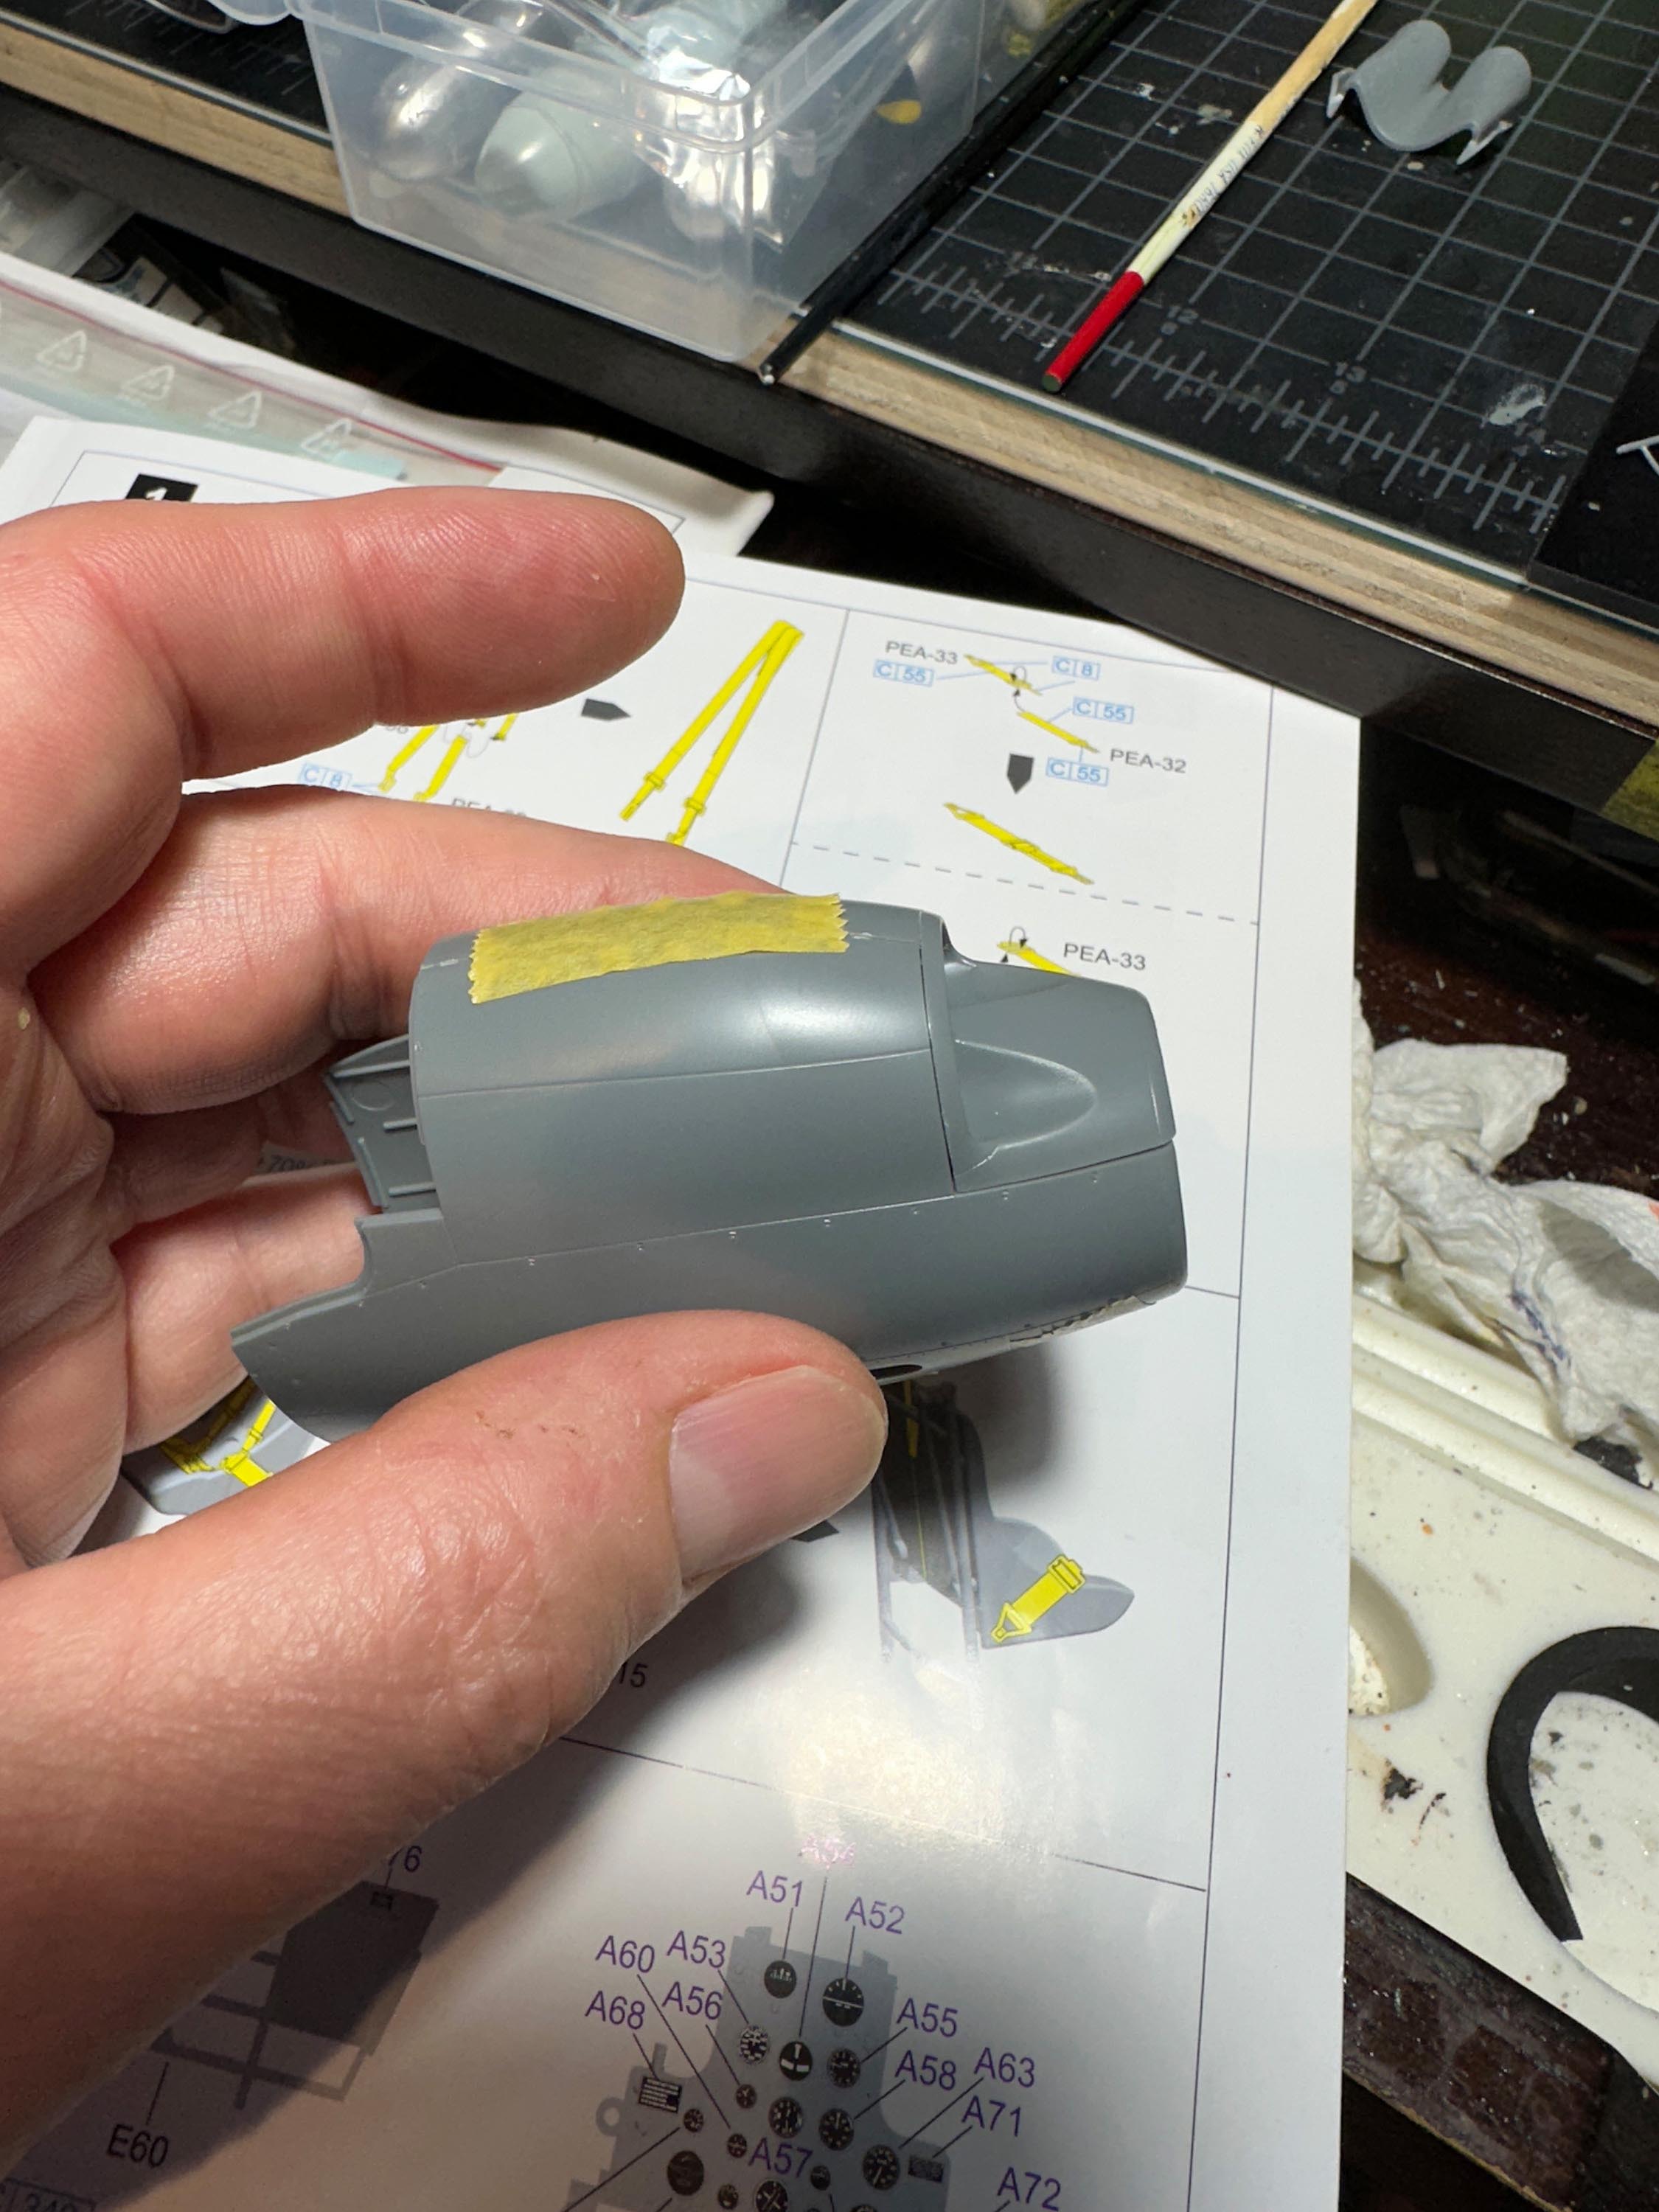
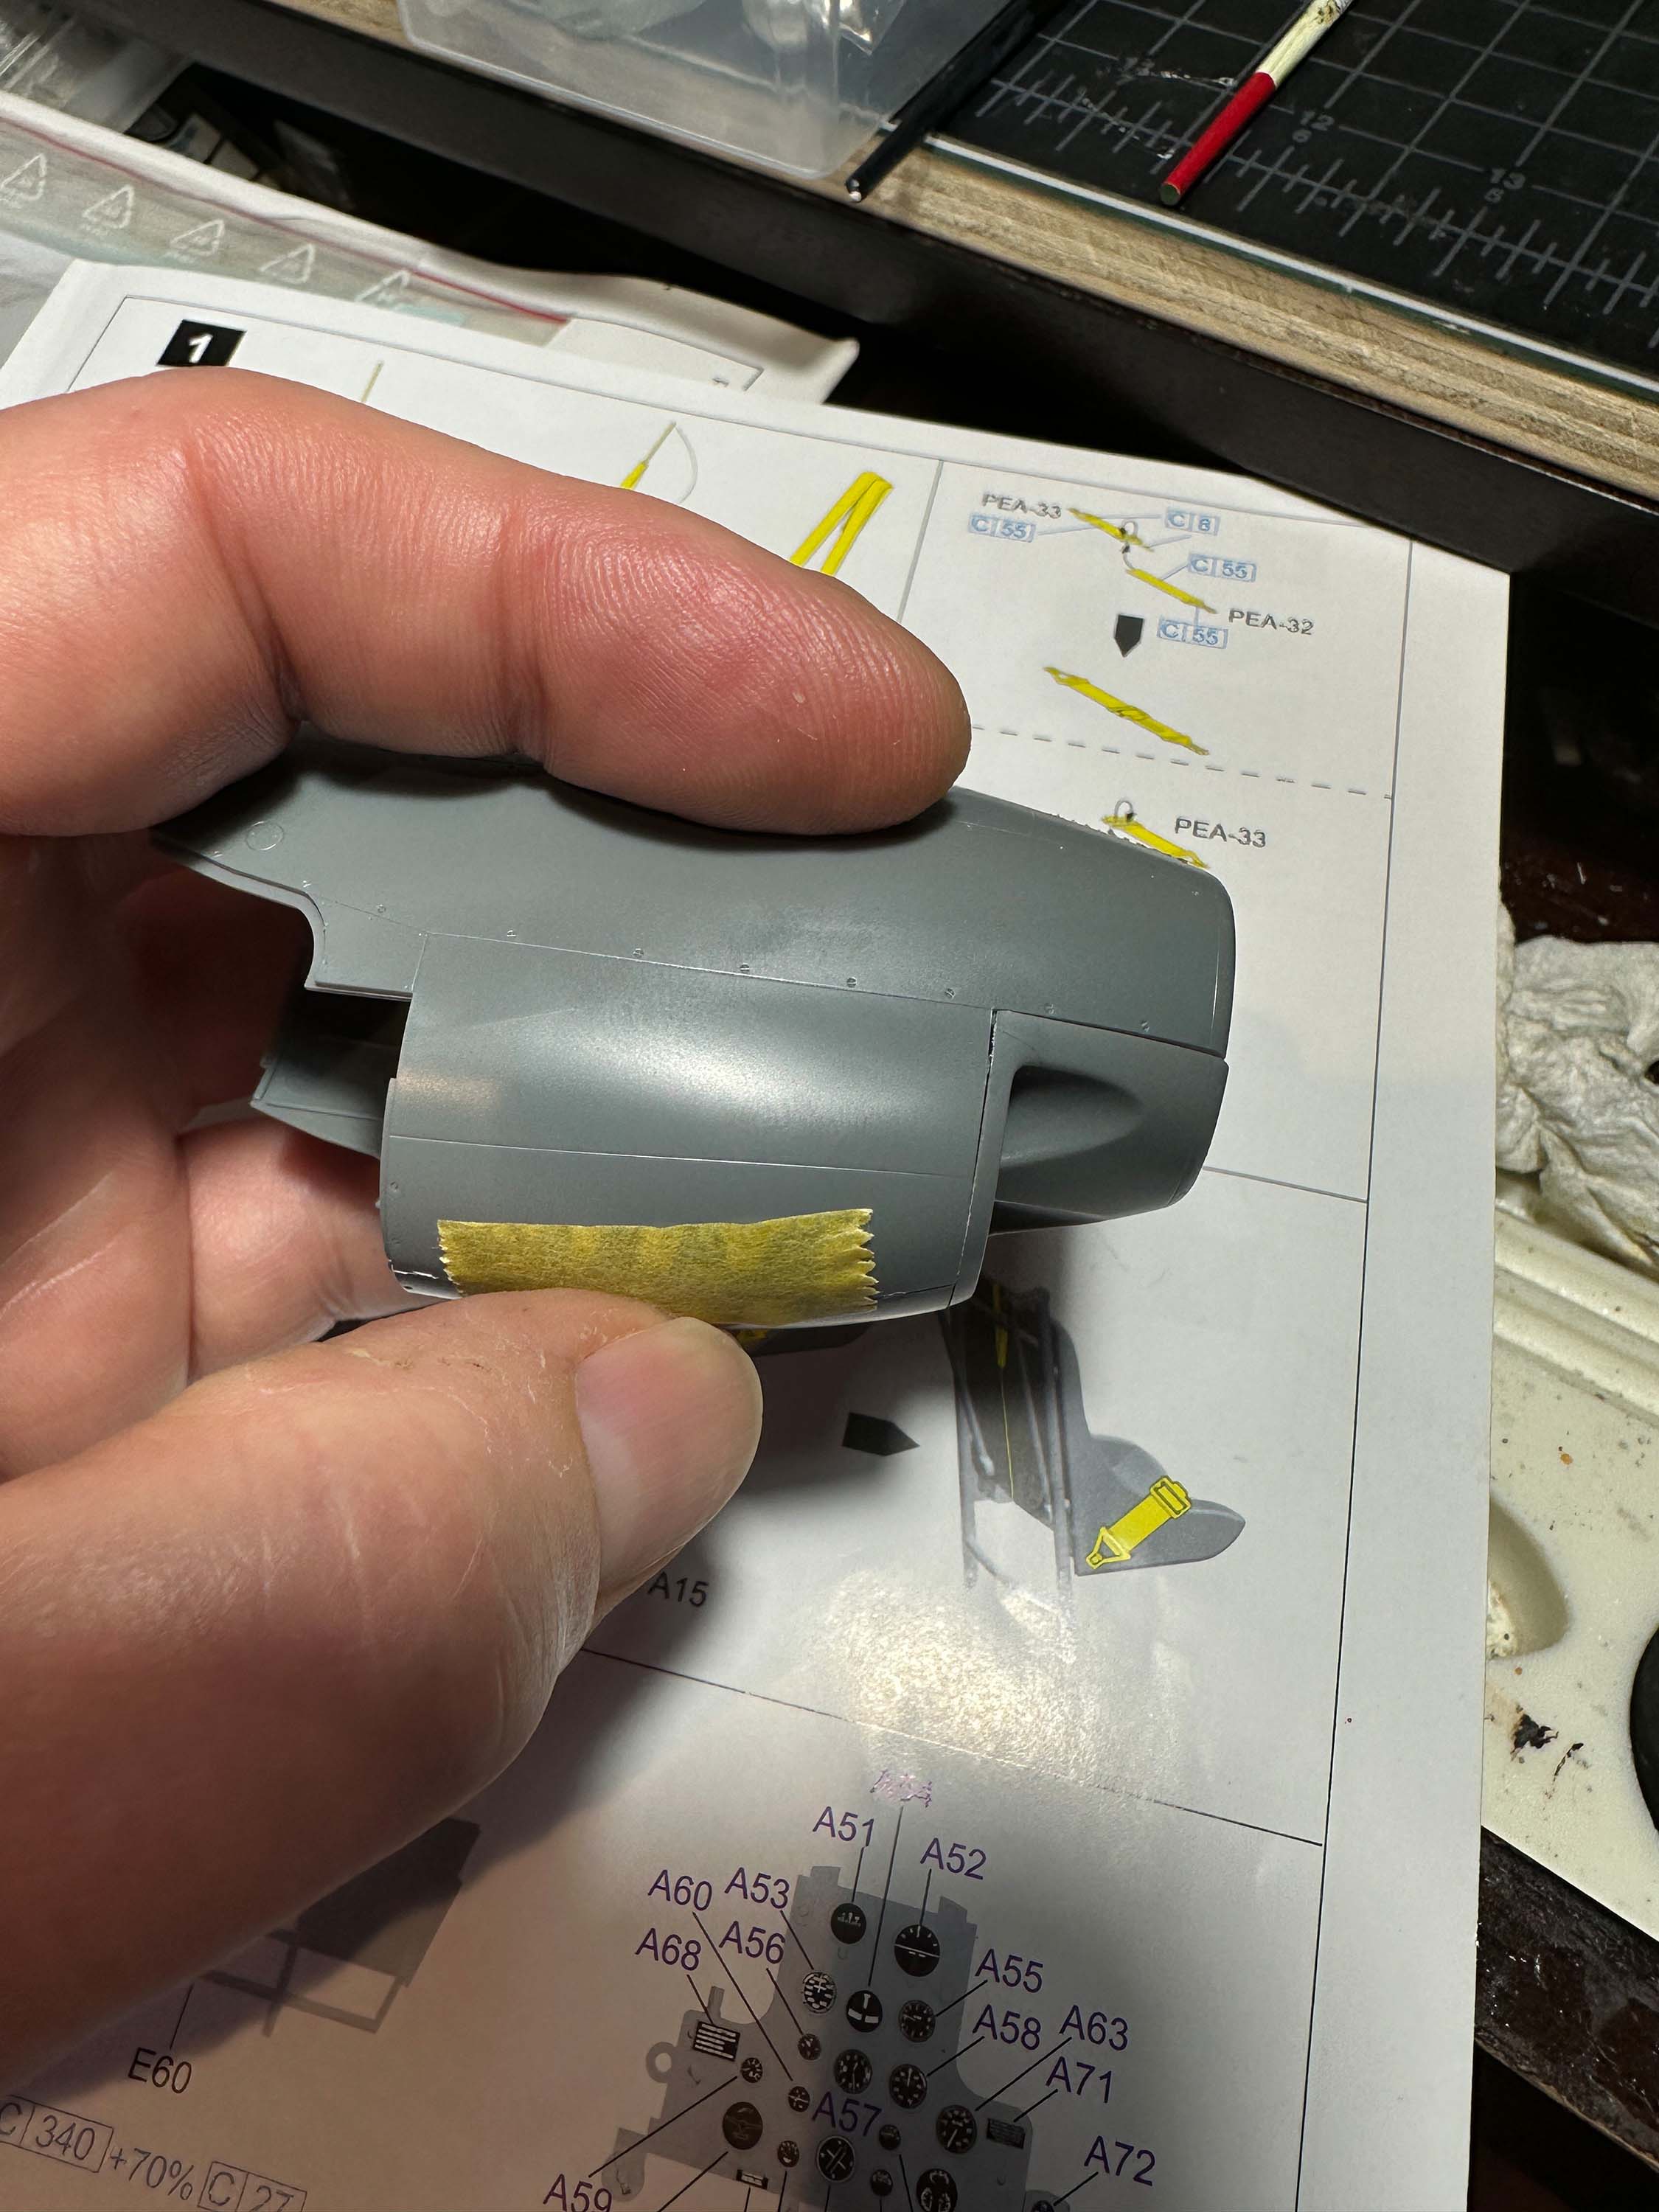
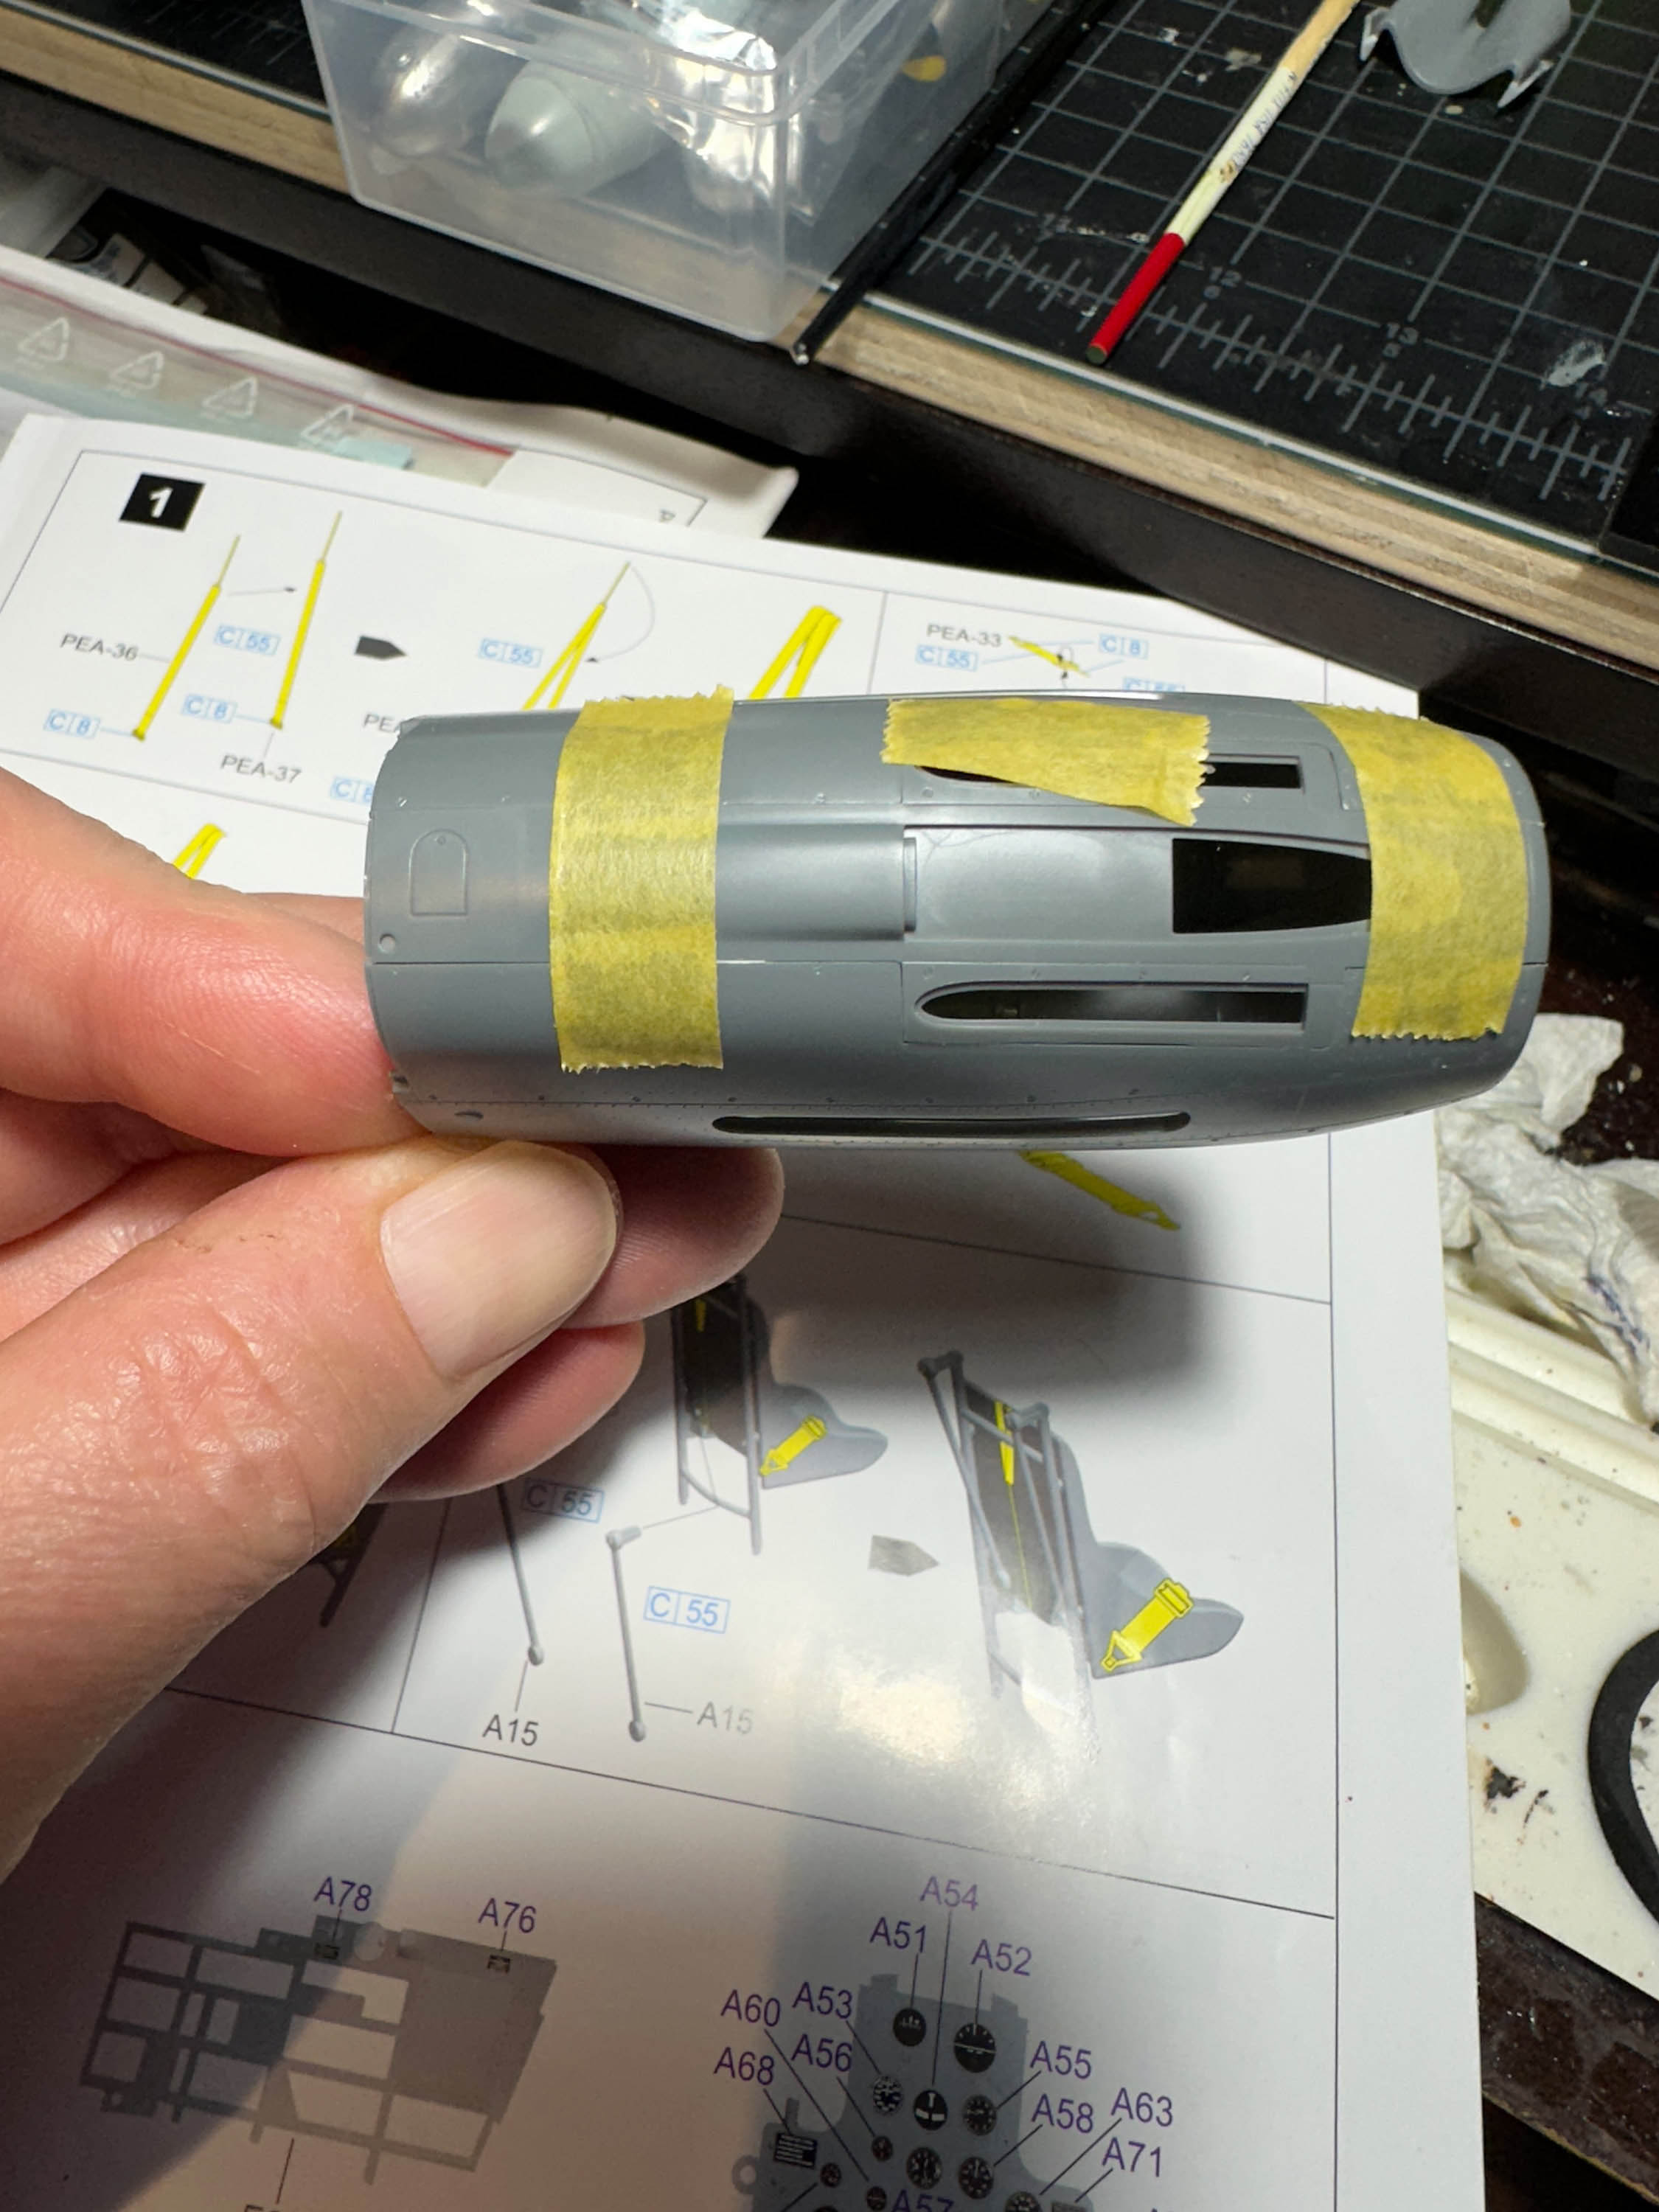
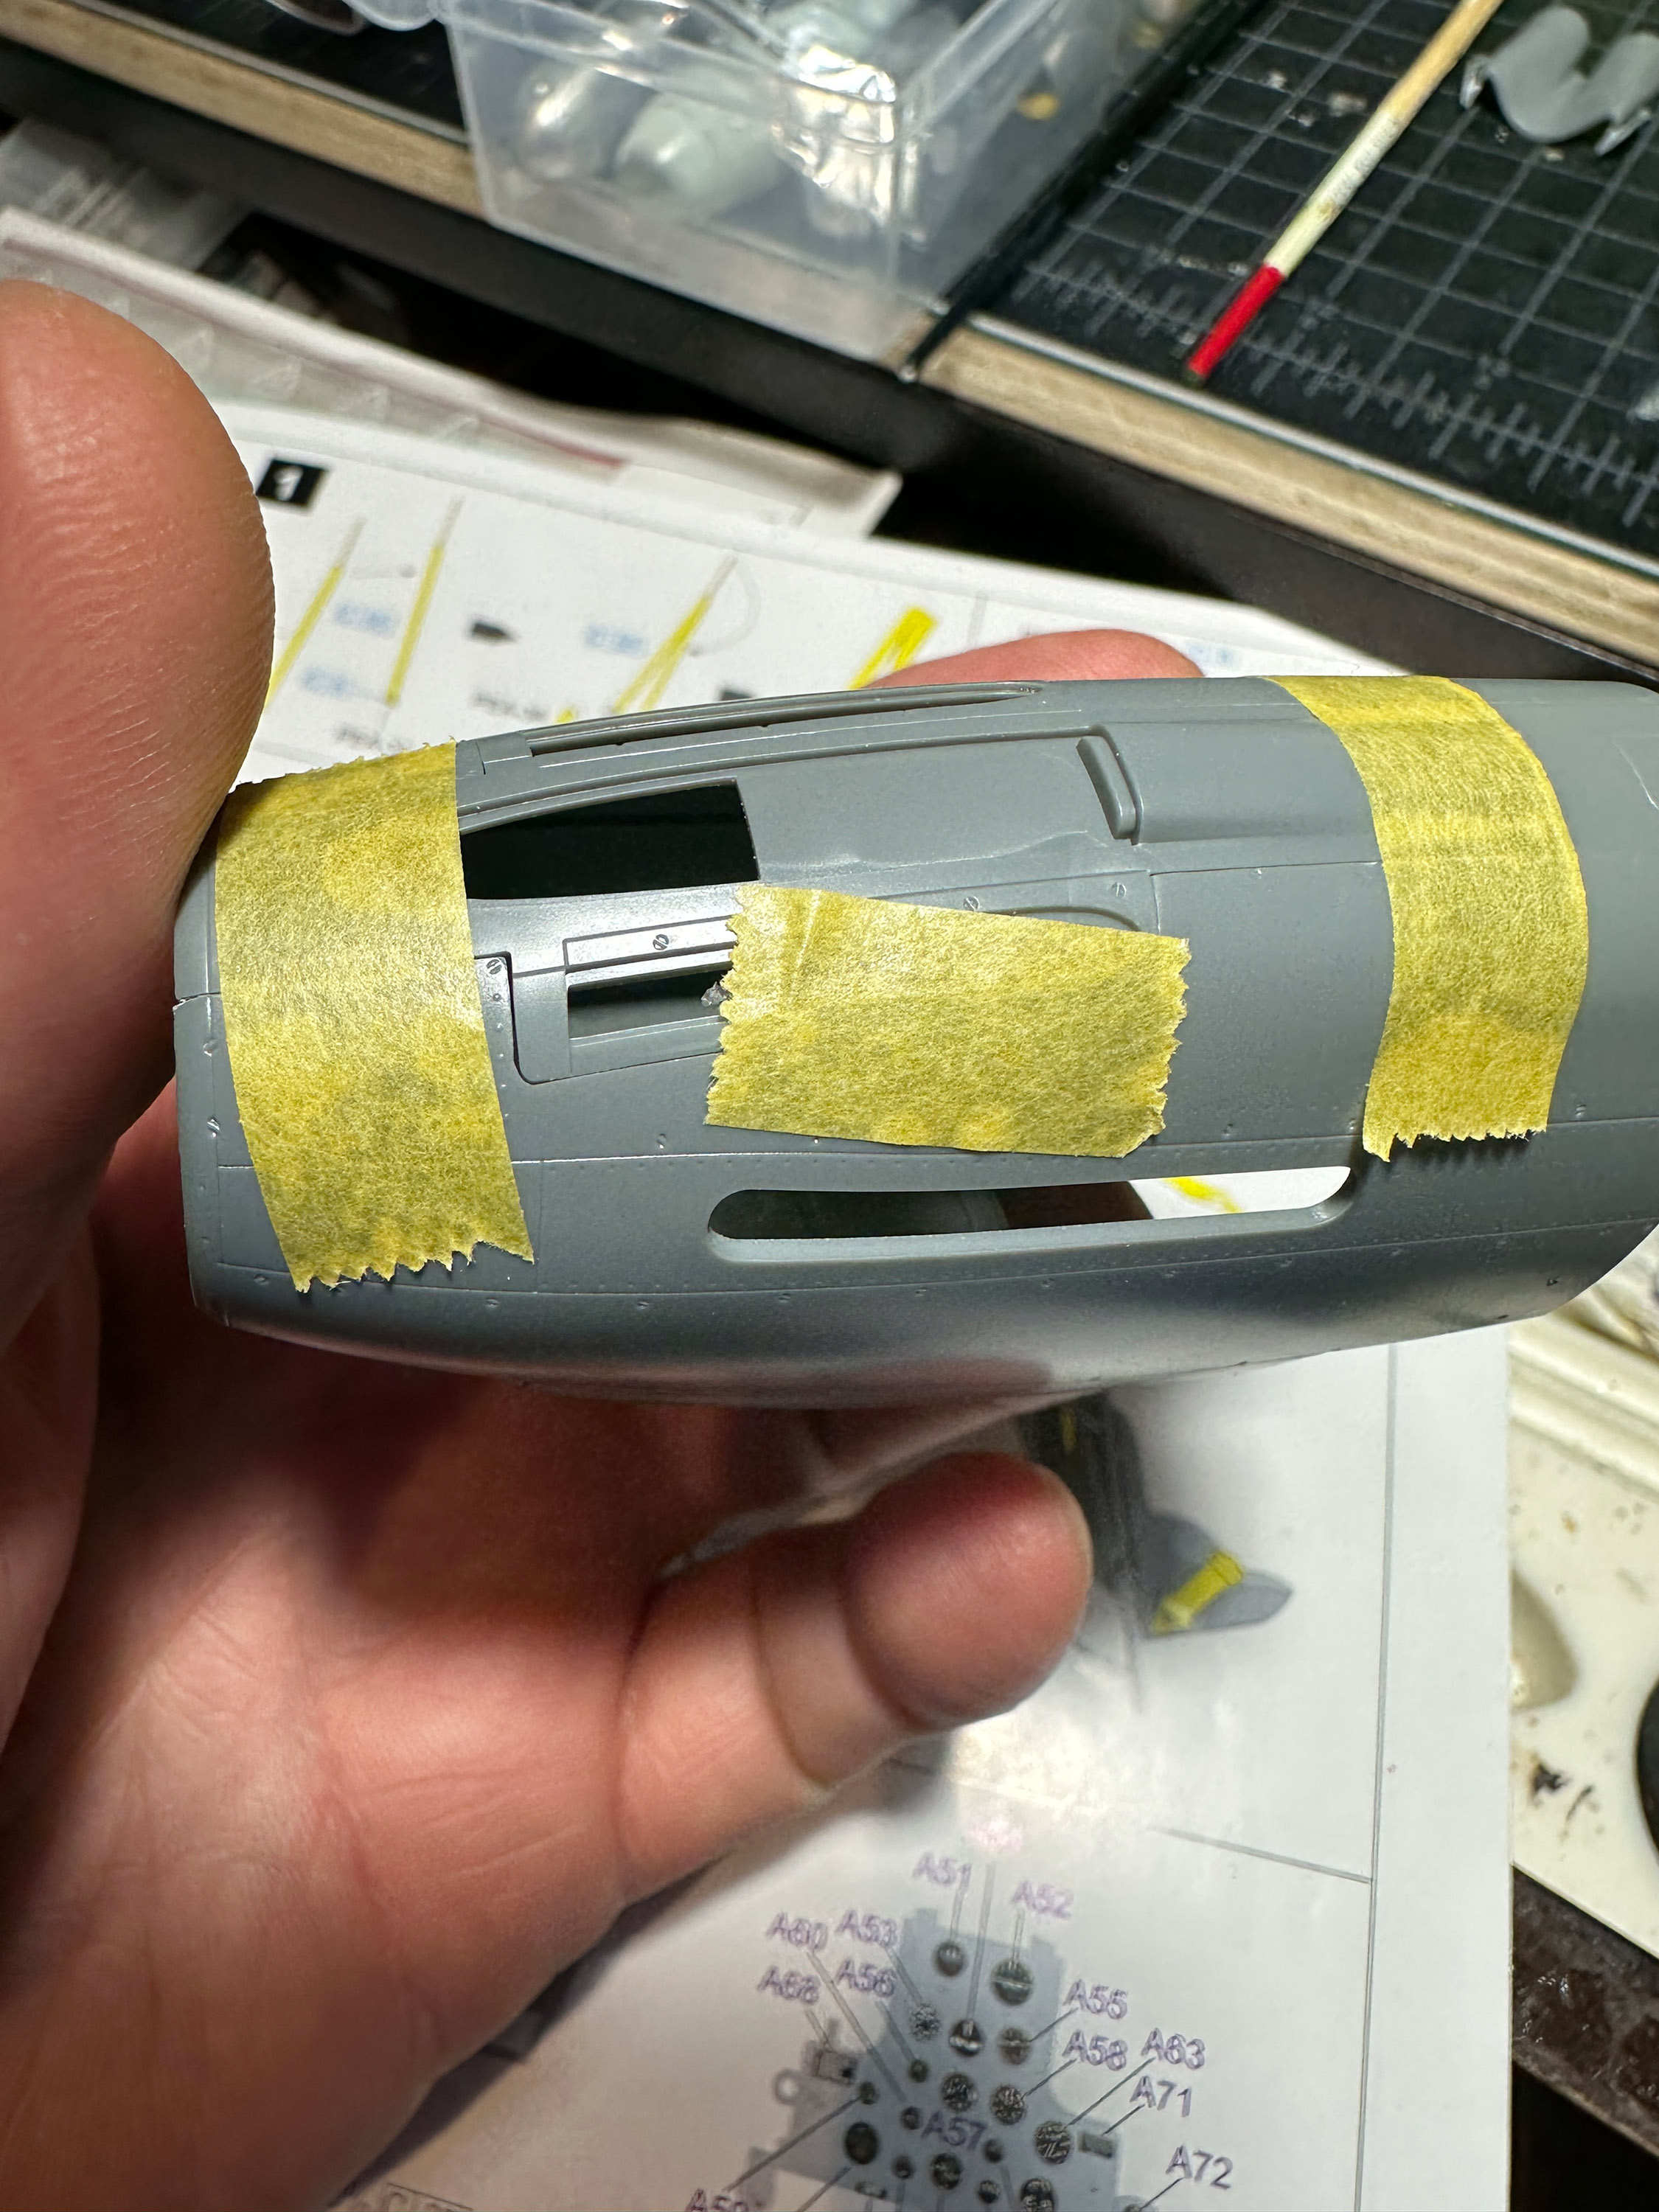
After working on this kit for a few days, I have been very surprised at just how well the fit of the various parts is. As you can see in the gallery above all the parts of the engine cowling are dry fitted together. There are no visible gaps or areas that need filling. Only a bit of glue.
The other aspect of this kit is the fact that you can display the plane with either the engine exposed or just the nose of the plane attached. This is done with magnets. You build up the engine and on the firewall there is a place to attach a magnet, which then allows the fully exposed engine to be shown on the airplane. Or, you build up the nose of the plane with the exhausts and air intake with the firewall attached to the back. Again a magnet allows you to attach this full assembly to the rest of the airframe.
This is a huge improvement over other 1/32 kits that have engine assemblies. All of the other kits (besides the Tamiya P-51) will have all the separate pieces of the engine cowling available so that you can have them open to show the engine. However so far in all the 1/32 kits I have built up with this style of build the various cowling pieces never line up well, leaving gaps that have to be filled if you want the engine covered.
Leaving the various cowling parts open leaves a lot of problems. Painting the airplane becomes problematic especially more complex paint schemes like the ones on German WWII fighters. Also over time the exposed individual parts will break off as they are quite exposed and fragile. Once broken, it’s never easy to get them back on. Unless you are building a diorama showing the airplane under maintenance, I never really want to leave cowlings open.
The other big issue is of course the time you spend building the engine is pretty much wasted as it will be totally hidden by the cowlings. Most of the modern 1/32 kits have very nicely detailed engines, both in-line and radial.
Paul Caldwell



Recent Comments