From the BlogSubscribe Now

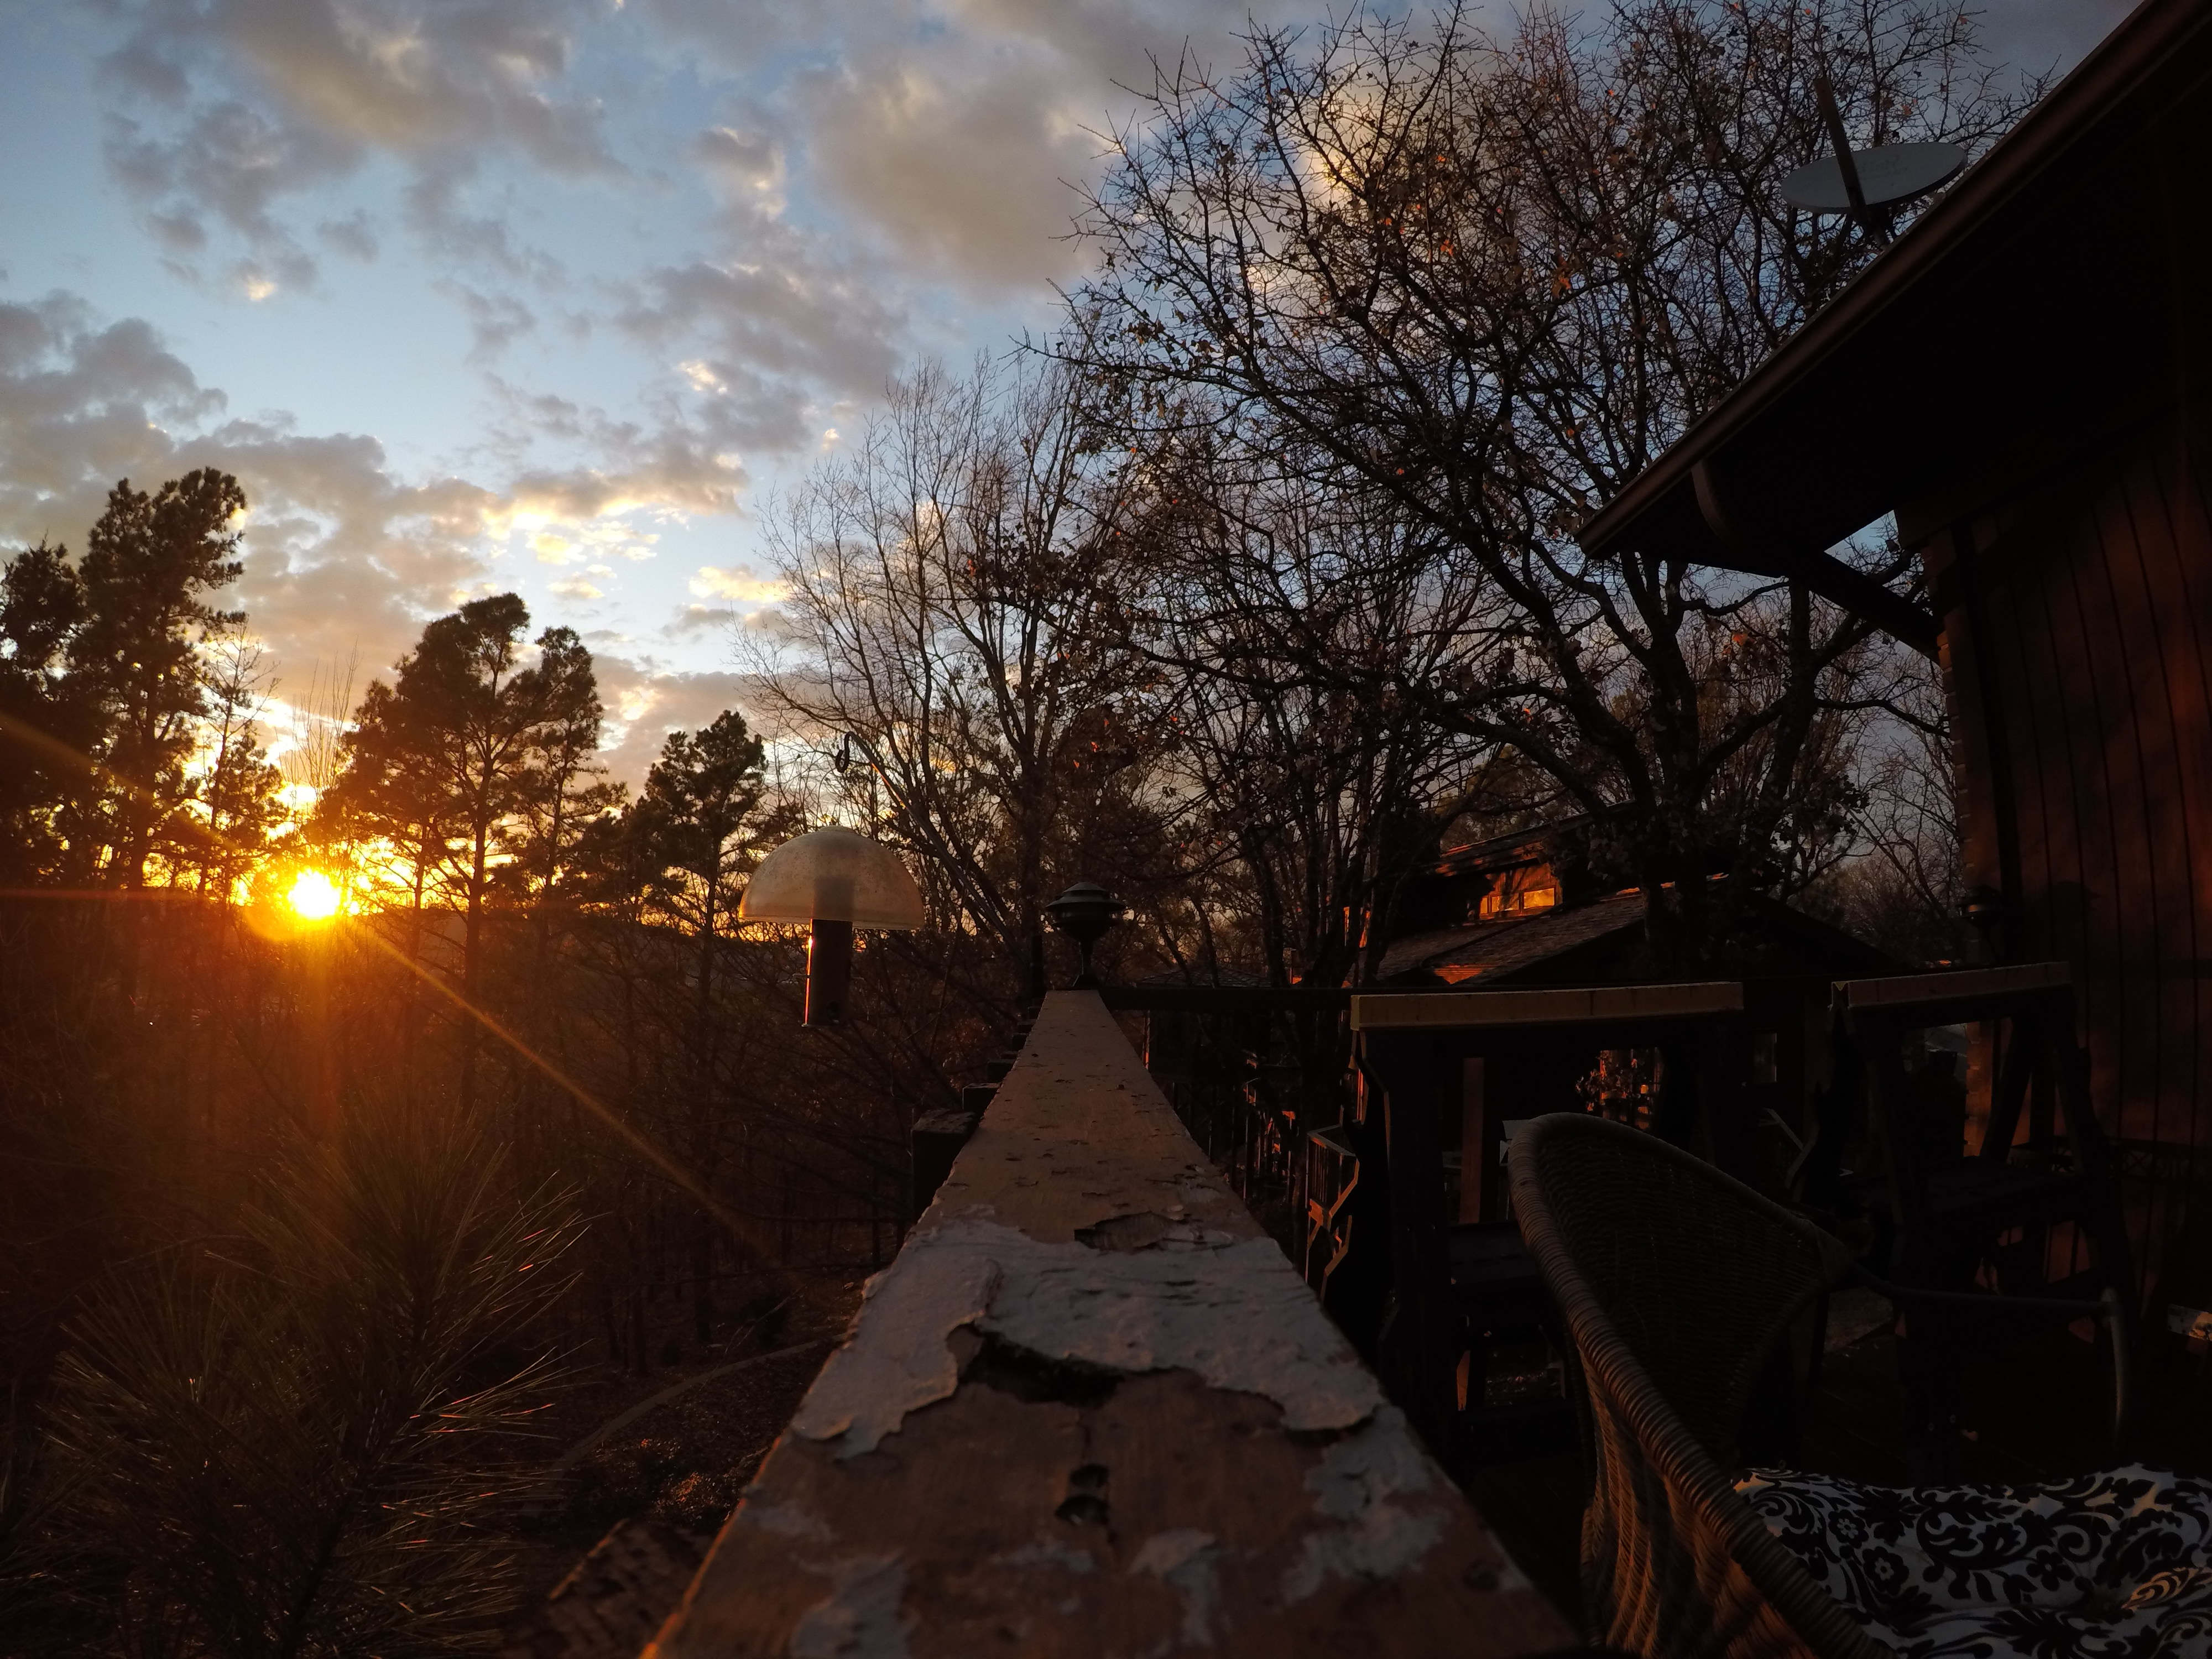
01/20/15 Sunset time-lapse from my back deck

sunset, Arkansas, Little Rock, time laspe, gopro4, pretty sunset, clouds,

Little Rock Arkanas Sunset in mid January

Since I went ahead and upgraded my Gopro Hero 3 black to a Hero 4, I have been having much more success with time lapse  in situations where there are extreme changes in lighting, like sunsets and sunrise conditions.

This is a quick video taken on the 20th of January where you can see the changes over about 45 minutes, from when the sun was just starting to hit the horizon to around 20 minutes after.

There is a bit of movement in this, due to my slightly moving the camera during one of the segments.  I took this video in 8 different segments to allow more control over the sunset lighting.  I have found that there is more control with the GoPro Hero4 with the Protune options, than with the much older GoPro Hero3.  When I first started to use the GoPro Hero 3, I found that the sky would constantly overexpose, unless it was a very dark day.  However if here was any sunlight on the clouds, that they tended to get blown out.  Totally blown out, to pure white.

After watching hundreds of videos and time lapse sequences by others on Youtube, I realized that most photographers don’t seem to worry about over exposure on background elements, however in a sunset like this one, the clouds one of the key elements of the scene.

With the Hero 4, and Protune you have a lot more control as you now can set the iso (from 100 to 800), and there is an EV control, ranging from -2 to +2 stops.  Both of these settings have come in very handy for me.

My main interest for the GoPro was in time lapse work and so far I am liking what I have been able to capture with the Hero 4.  I am hoping to get out to one of my favorite landscape spots in the near future and setup for a longer series.

This series was taken in 5 second series. I used Premiere Pro to combine all of the various segments and then work on the shadows in the foreground.  I was impressed with how well the GoPro 4 allowed for shadow recovery.  You can see in the top photo just how dark the foreground was during the shoot, but in the video, I was able to capture quite a bit of extra detail, without a lot of noise.


04/30/14 New Images added to my Arkansas Panorama Gallery

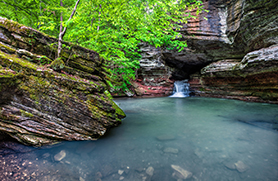
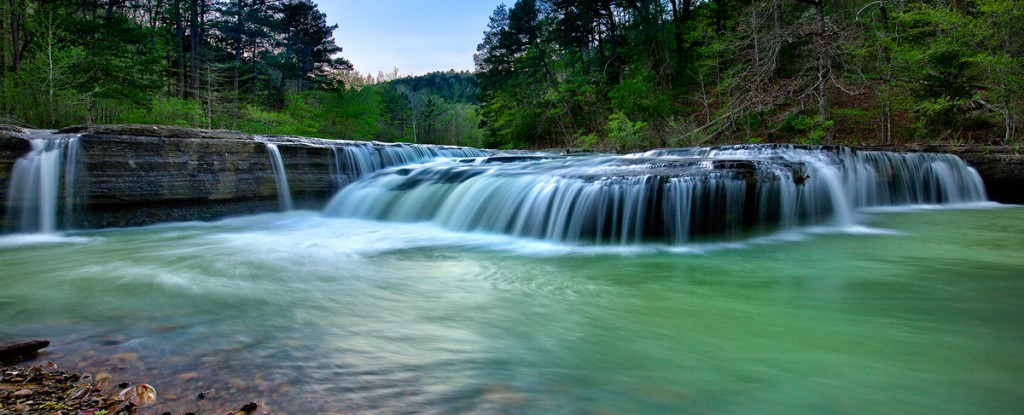
Haw Creek Falls Sunset Arkansas

Haw Creek Falls in Arkansas, taken at sunset.

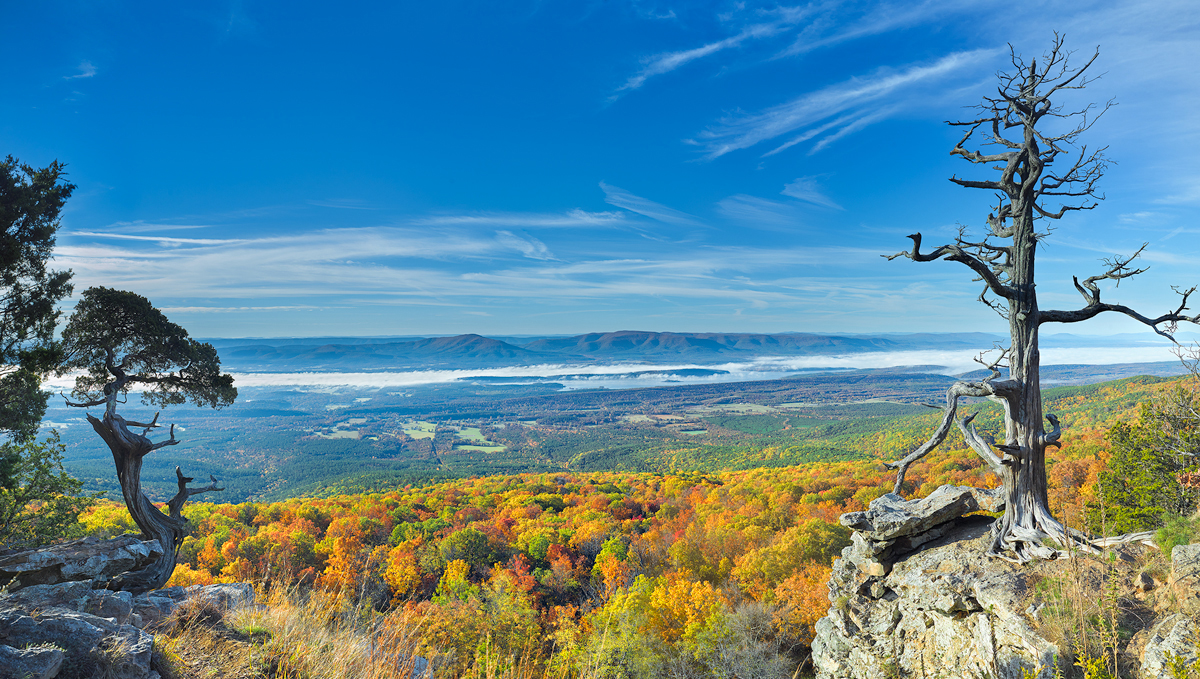
I have recently added several new panoramas taken throughout Arkansas to my Panorama Gallery.  You can view the images here:

Over the years, I have started to shoot more panoramas than standard format photography as I feel it gives a better view of landscape subjects.  Many times I will shoot both ways, but after reviewing the images I will come back to the panorama images.  I have found three  ways to accomplish this:

1.  You can take the shot in a panorama format, which involves using special equipment to keep the foreground and background in focus.

2.  You can take one high resolution image and crop into it with a 3:1 ratio.  This requires a image of 50MP or more to allow for a large print.

3.  Setup your camera for a nodal pan.

With my current equipment I can work this either way since I can now use my Arca rm3di camera to allow for a stitching capture.   I can pick up as much as 18mm of new image details on each side of the center, and since I am stitching, not panning the camera, I will not have to worry about parallax issues.  Parallax comes about when you pan your camera/lens combination without consideration for the nodal point of that particular camera/lens.  What will occur most times with parallax errors is foreground and background elements of your subject will not line up.

With a digital back of 60MP it’s also possible to crop into a single image to a 3:1 ratio which is the standard for panoramas.  This most times will leave me around 25MP to work with and from that I can get a print sized to around 24″ x 60″ or 36″ x 72″.  Working this way is much faster as you don’t have to worry about merging the stitched images together.  During this process you can run into color balance issues or blurring, as the wind may have picked up during the stitching process and effected one of the 3 stitches.   This process allows you the greatest amount of freedom to compose as you can shoot with a tripod if the shutter speed allows it.

When time and conditions permit, I will try to work in a nodal pan also.  This is by far the most complicated of the three solutions as you have to have several factors taken into account:

1.  You will need a tripod that is level

2.  Your camera and lens need to set to the correct nodal point

3.  A panning head is usually required to help keep the panning lined up.

4.  Some form of stitching software will be needed to put the images together

5.  Most times even with a nodal solution, there will be issues while lining up the images

6.  Working with wide angles lenses is still complicated

The main reason I don’t prefer to use this setup is that you need to be level as if you pan with a non-level tripod, you will add all types of distortions to the final image.  Many times even if you have the camera/lens set to the correct nodal point, many of the images won’t come together correctly since I am mainly working with wide angle lenses.  This solution does allow for the highest amount of final resolution as you are using about 80% of the sensor on each shot the rest being lost to overlap.

Panoramas are very challenging, but can offer the photographer an excellent final image that can be printed in many more possible output solutions.